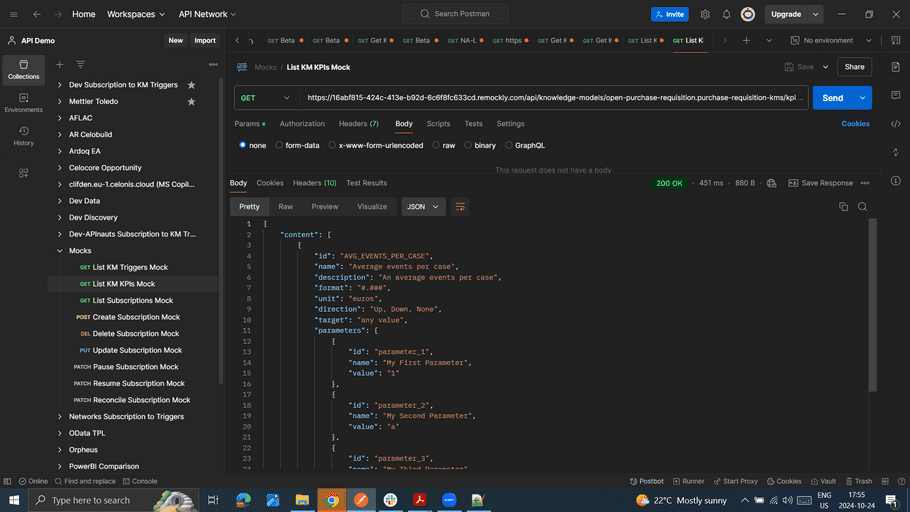
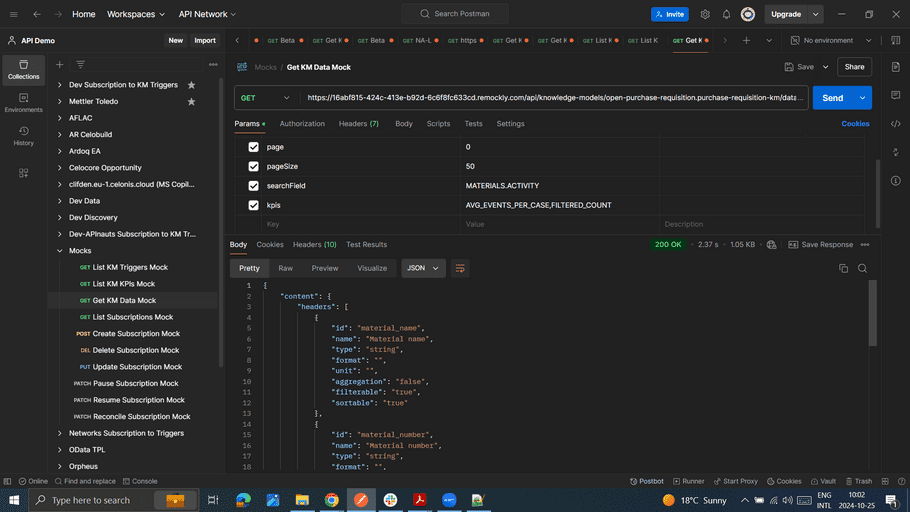
Try it!
After reading all the documentation, you might want to give Intelligence API a try. For that, we have prepared a demo environment that anyone can access. Authentication is required, but any token that you pass should work, so no need to get a User or Application key in advance.
To show how this environment works, we will use Postman, but you can use any other REST client.
The URL where this API can be located is: https://16abf815-424c-413e-b92d-6c6f8fc633cd.remockly.com/api. Keep in mind that
for real production environments, the URL typically ends with /intelligence/api
and not /api
.
1. Create a new HTTP Request
Let's start this Tutorial by creating a new HTTP Request in Postman (File > New > HTTP Request). Make sure that you have selected a GET operation and paste the URL for the API next to it: https://16abf815-424c-413e-b92d-6c6f8fc633cd.remockly.com/api.
2. Configure authentication
Let's say we have our User API Key which is
NASDYUmYxMjItNmJJHuNYSdn7FkLThhasdhj89jM2ODVmOio090sadjkdkVnRFV3VVBtZ1jksadb8olJWXMSDHUASDik3UE5j
. Go to Postman
and use this key for the Authentication header.
Click on Authorization
and select Bearer Token
for the Type. For the token, paste the above key.
3. Get the list of Knowledge Models
Now we should be ready to start getting some information such as the full list of Knowledge Models. For that,
you need to add '/knowledge-models' at the end of the URL. As we can see, there is one Knowledge Model with the id
open-purchase-requisition.purchase-requisition-km
and named Purchase Requisition KM
. As we can tell by the name, this
Knowledge Model is giving us information about Purchases that happened in the company.
4. Getting details for a specific Knowledge Model
Next, let's see the details for the Purchase Requisition KM
Knowledge Model. In order to do that, we need to append the
id of the Knowledge Model to the URL we used for the previous step. In the results we can get extra information for this
Knowledge Model, for example that is extending another Knowledge Model with id open-purchase-requisition.purchase-requisition-km-base
.
5. Discover the records for a Knowledge Model
Now it's time to discover the available records for this Knowledge Model. These records will tell us
which kind of data we will be able to retrieve. Let's add /records
to the URL in the previous step. By looking at the
response, we can tell that we have one record called 'Materials' which contains the "materials that have been purchased".
6. Check the filters for a Knowledge Model
Next, let's discover which filters the Purchase Requisition KM
Knowledge Model has available. We can do so by simply
appending /filters
to the URL used in step #4. As we can see, we have one filter named '24 Months', which lets us get
the materials purchased in the last 24 months.
7. Fields that we can consume in the record
In order to see the fields that can be consumed in a record, simply append the id of the record in the URL we used in
step #5. Keep in mind that the URL is case-sensitive, so since the id is 'MATERIALS', we would need to append /MATERIALS
.
In the response, we can see that there are 3 string fields for the 'Materials' record: Material Name, Material Number and
Material Group.
8. Get the data for the Materials record
Finally, it's time to consume the data for the Materials
Record. For this we need to first append /data
to the URL we got
in step #7. Then, we should also specify the field ids that we want to retrieve. For this last step, add a Parameter
in the Params
tab named fields
with the value material_number, material_name, material_group
. We get only one result:
a material named 'PC Installation / Configuration' with the number 'I-1000' and group 'Services'.
9. Get triggers for a Knowledge Model
Imagine you want to retrieve all the triggers within a Knowledge Model. This is possible just adding the knowledge model id,
for example open-purchase-requisition.purchase-requisition-km-base
and later appending /triggers
to the URL.
10. Creating a new subscription
Once you know the id of the trigger you want to use to create a subscription, you can create a new subscription just adding the
trigger id abc-123-bad-123
to the previous URL. Ensure also the URL is requesting a new subscription appending subscriptions
to the end of the URI.
Do not forget to give a name to the subscription, and a valid callback URI, and the system will return to you the id for that new subscription.
11. Get the list of subscriptions
Once you created the subscription, you can get all the subscriptions in the system, it is useful for example to check the status of your subscriptions, just in case any of them is failing, or it is paused or suspended.
Also, the id
of the subscription is something important to know, since that information is required for updating, pausing, resuming, unsubscribing and
the manual fetching of the data.
12. Update a subscription
If you have the id of a subscription, you can perform an update to change its name or its callback URI. Just ensure you append the id
abc-123-bad-123
to the subscriptions
URI, and you define a valid name and a valid callback URI.
13. Pause a subscription
If you have the id of a subscription, you can pause it to stop receiving events. Just ensure you append the id
abc-123-bad-123
to the subscriptions
URI, and also you append to the command pause
at the end
14. Resume a subscription
If you have the id of a paused subscription, you can resume it to start receiving events. Just ensure you append the id
abc-123-bad-123
to the subscriptions
URI, and also you append to the command resume
at the end
15. Unsubscribe
If you have the id of a paused subscription, you can unsubscribe it to remove the subscription from the system. Just ensure you append the id
abc-123-bad-123
to the subscriptions
URI.
16. Get events manually
In case of having a failing subscription, is possible to still receiving events but manually.
Just ensure you have the id
abc-123-bad-123
of the failing subscription, include the events
path to the URI, and finally
also append the next-page-from-parking-lot
command to the subscriptions
URI.
Keep in mind that this is just a simple demo. Features like Filter, Filter Expressions and many others are not supported. However, we expect you now have a better understanding of how to use Intelligence API. If you want to become more familiar with the API, we recommend you to have a look at our Tutorials.