The Data Push API is not recommended for new implementations. We recommend that you use the Data Ingestion API to pull your data into the Celonis Platform.
This page describes how to get started with the Data Push API in a simple way using Postman.
The Data Push API provides an easy way to transfer data into Celonis. For pushing data, Celonis currently uses micro-batching. Instead of either inserting huge chunks all at once or inserting record by record, data meant to be pushed into the platform is structured into these so-called "micro-batches". As an exchange format, the commonly used Parquet or CSV file formata are used. The API provides an easy way of creating, executing, and monitoring micro-batch jobs/Data Push jobs. Once the data is available in the system, you can transform, analyze and work with it as you would with a Celonis-provided extractor.
- Creating a Data Push job defines which Data Pool, Data Connection target table data should be pushed into.
- You send data to Celonis by adding chunks, either Parquet (preferred) or CSV to a Data Push job.
- Submit a Data Push job by calling the execute Data Push Job endpoint.
- Check the status of the Data Push Job by calling the list Data Push Jobs endpoint.
There is a 1 GB data limit on each data chunk. In general, splitting data into chunks smaller than 1 GB makes sense. For a push job as a whole which can contain multiple chunks, there is no data limit.
The API to submit a push job is rate limited on a team basis. These limits are fixed to guarantee platform stability for all of our customers:
- 10 requests/second
- 250 requests/hour - The interval starts at the full hour (UTC based).
- You need to have a Celonis team.
- You need an Application or API key for authentication before starting to initiate a Data Push Job.
First you need to determine the URL for your team and cluster.
- The base URL for the Celonis API is:
https://<team>.<cluster>.celonis.cloud/data-ingestion/api
To find the team and the cluster, please check the URL you use to access the Celonis EMS and retrieve the team and cluster from it.
For example, the base URL for dev team in US-2 cluster would be: https://dev.us-2.celonis.cloud/data-ingestion/api
You'll also need the Data Pool ID, for any further operations related to Data Push API. The Data Pool ID is displayed in the URL when you open a Data Pool in your Celonis team.
Since the Data Push API is a REST API, you will need to have a way to interact with it. There are multiple ways to do this, but to make things simple, we will use Postman, which is a very popular and free REST client.
If you already have a REST client, you can ignore this section.
Otherwise, go to the Postman Download page and download it for your Operating System. Once it's downloaded, install it.
Once installed, it should look like something like this:
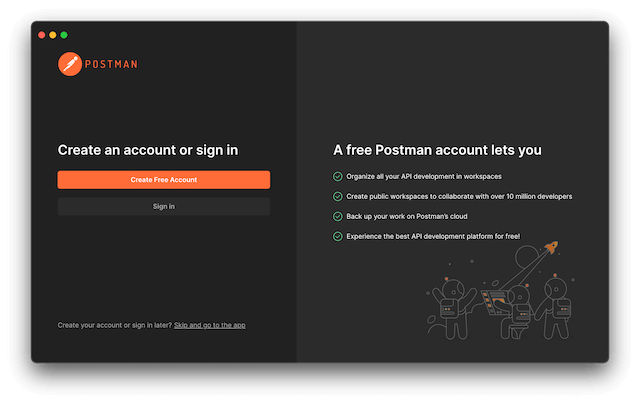
To start using it, create an account or click on "Skip and go to the app".
Each request to the API must be authenticated with a Celonis Application or API key. There are multiple ways of doing this:
While it is possible to use API keys and Application keys with Celonis, it's important to note that they are not the industry standard. Both keys have an unlimited lifetime and cannot be “rotated”. This means that users need to delete and recreate them to achieve the equivalent of key rotation, which can be a cumbersome process.
One issue (particularly relevant for API Keys) is that they give any application that uses them complete access to almost all the Celonis APIs. There is no way to restrict their access to only certain resources.
OAuth 2.0 is a well-established industry standard that makes it easier to integrate customer-managed applications with Celonis. OAuth uses scopes to manage access to resources, which means that the OAuth clients can only access APIs allowed by the scopes they are configured to use.
For example, we can have the scope studio that gives access to Studio or the scope audit.log:read that gives read-only access to audit logs. For an OAuth client to be able to access a certain resource (API), the client must have the OAuth scope and the Celonis permission to do so. This follows the security principle of least privilege so that an OAuth client gets only the required privilege to perform a certain task and not more.
You can find out how to create an API key by following our User API Keys guide.
The Celonis API uses Bearer Token Authentication for verifying consumer access. The credentials must be sent in an Authorization header in the HTTP request. Credentials sent in the URL or body of the request will be ignored.
To authenticate using Bearer Token Authentication:
- Create the token in the EMS:
MDg5MGVkNDktNjMwZC00ODdiLTkyNGItMjNmMzMxNjRmM2IwOkhNUVRMUis4SGh6NHhBY21Vck9GaWdkem5rYzBrb3p0N056WUM0bGlqczMM - Include the string in the HTTP Authorization header formatted like this:
Authorization: **Bearer** MDg5MGVkNDktNjMwZC00ODdiLTkyNGItMjNmMzMxNjRmM2IwOkhNUVRMUis4SGh6NHhBY21Vck9GaWdkem5rYzBrb3p0N056WUM0bGlqczMM
You can find out how to create an Application by following our Application API Keys guide.
To authenticate using AppKey Authentication:
- Create the Application in the EMS:
YjNiZDI4MWUtYzAyNS00NTJjLTk1MjAtZjE4ZGEzMjM5MzIzOlVTRzVhNis2djMzaUtBbFNoNVlFMDBsSFA5OEJ2MDA2c0REK3N2OWIzVHdm - Include the string in the HTTP Authorization header formatted like this:
Authorization: **AppKey** YjNiZDI4MWUtYzAyNS00NTJjLTk1MjAtZjE4ZGEzMjM5MzIzOlVTRzVhNis2djMzaUtBbFNoNVlFMDBsSFA5OEJ2MDA2c0REK3N2OWIzVHdm
The newly created Application Key is required to have necessary permission to be used for any Data Push API related operations. There are two methods to provide these permissions:
- Go to the Admin & Settings -> Permissions page.
- Add the permissions by editing the Data-Integration tab.
- Add permissions for a particular Data Pool, by clinking the three dots to the right of that Data Pool.
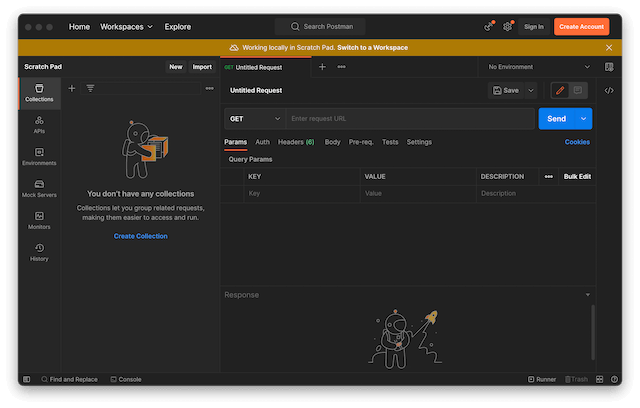
Once you have completed the previous steps, you can start making requests to the API. This example will use Postman for that.
- Go to File > New... and select "HTTP Request". Once you do this, you should see something like this:
Enter the request URL next to the Send button. For this URL use the one from the "Determine the URL for your team" section. In our example, the URL is
https://dev.us-2.celonis.cloud/data-ingestion/api.Now you need to set your API or Application Key in order to authenticate our requests. To do this, click on the "Headers" tab beneath the URL you just entered.
In Key, enter "Authorization" and for Value, enter:
Bearer <YOUR_KEY>if you have an API KeyAppKey <YOUR_KEY>if you have an Application Key
The following example uses an Application Key: 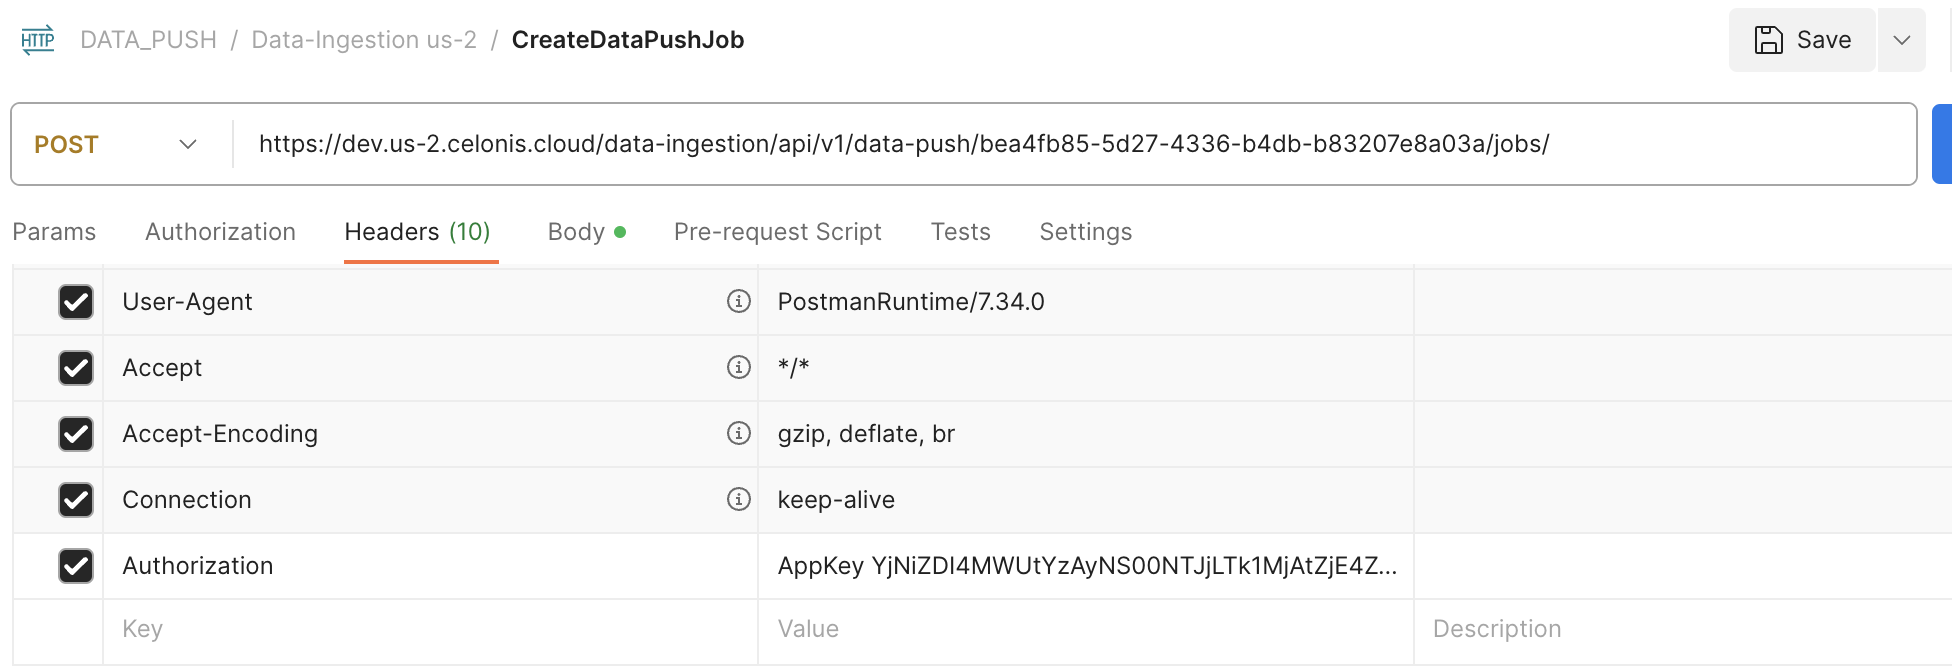
Sample URL: https://dev.us-2.celonis.cloud/data-ingestion/api/v1/data-push/bea4fb85-5d27-4336-b4db-b83207e8a03a/jobs/
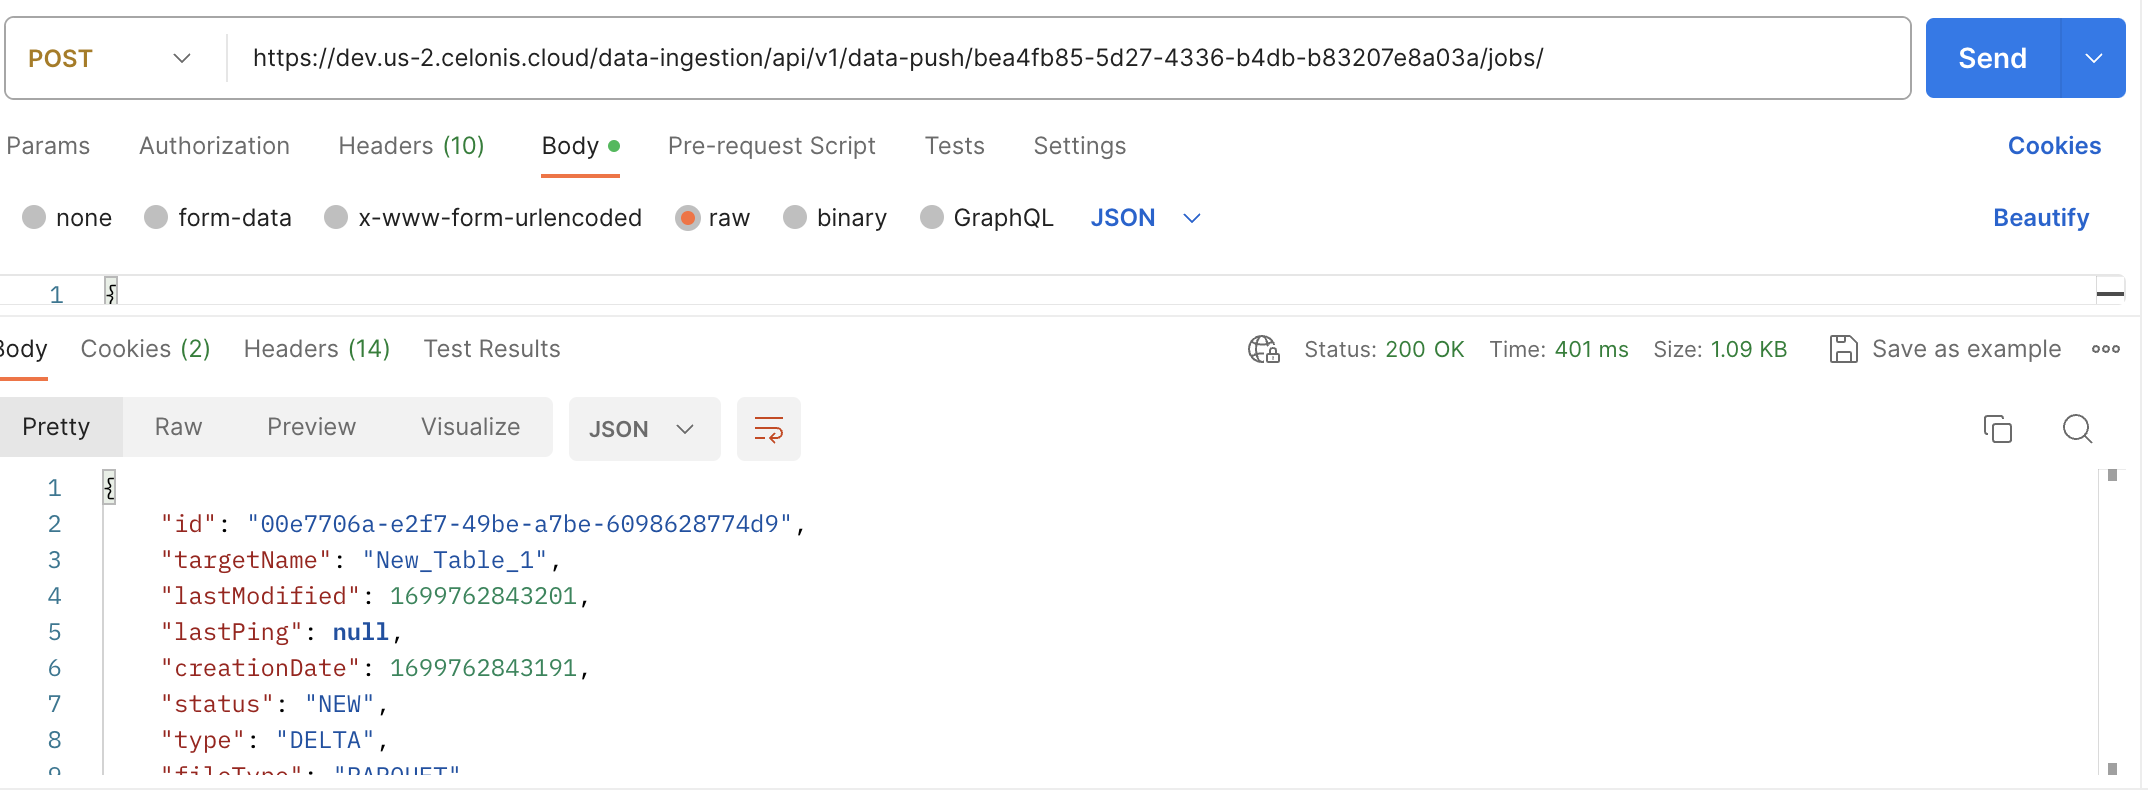
A POST request should be made to create a Data Push Job, which will create a new Data Push Job and provide a unique ID for this newly created job as a result. This ID should be used for the remaining operations performed with regards to this particular Data Push Job. The request body must provide values for the mandatory fields.
- type: DELTA/REPLACE
- fileType: PARQUET/CSV
- targetTable: Desired TableName in DataLake
- dataPoolId:
dataPoolId
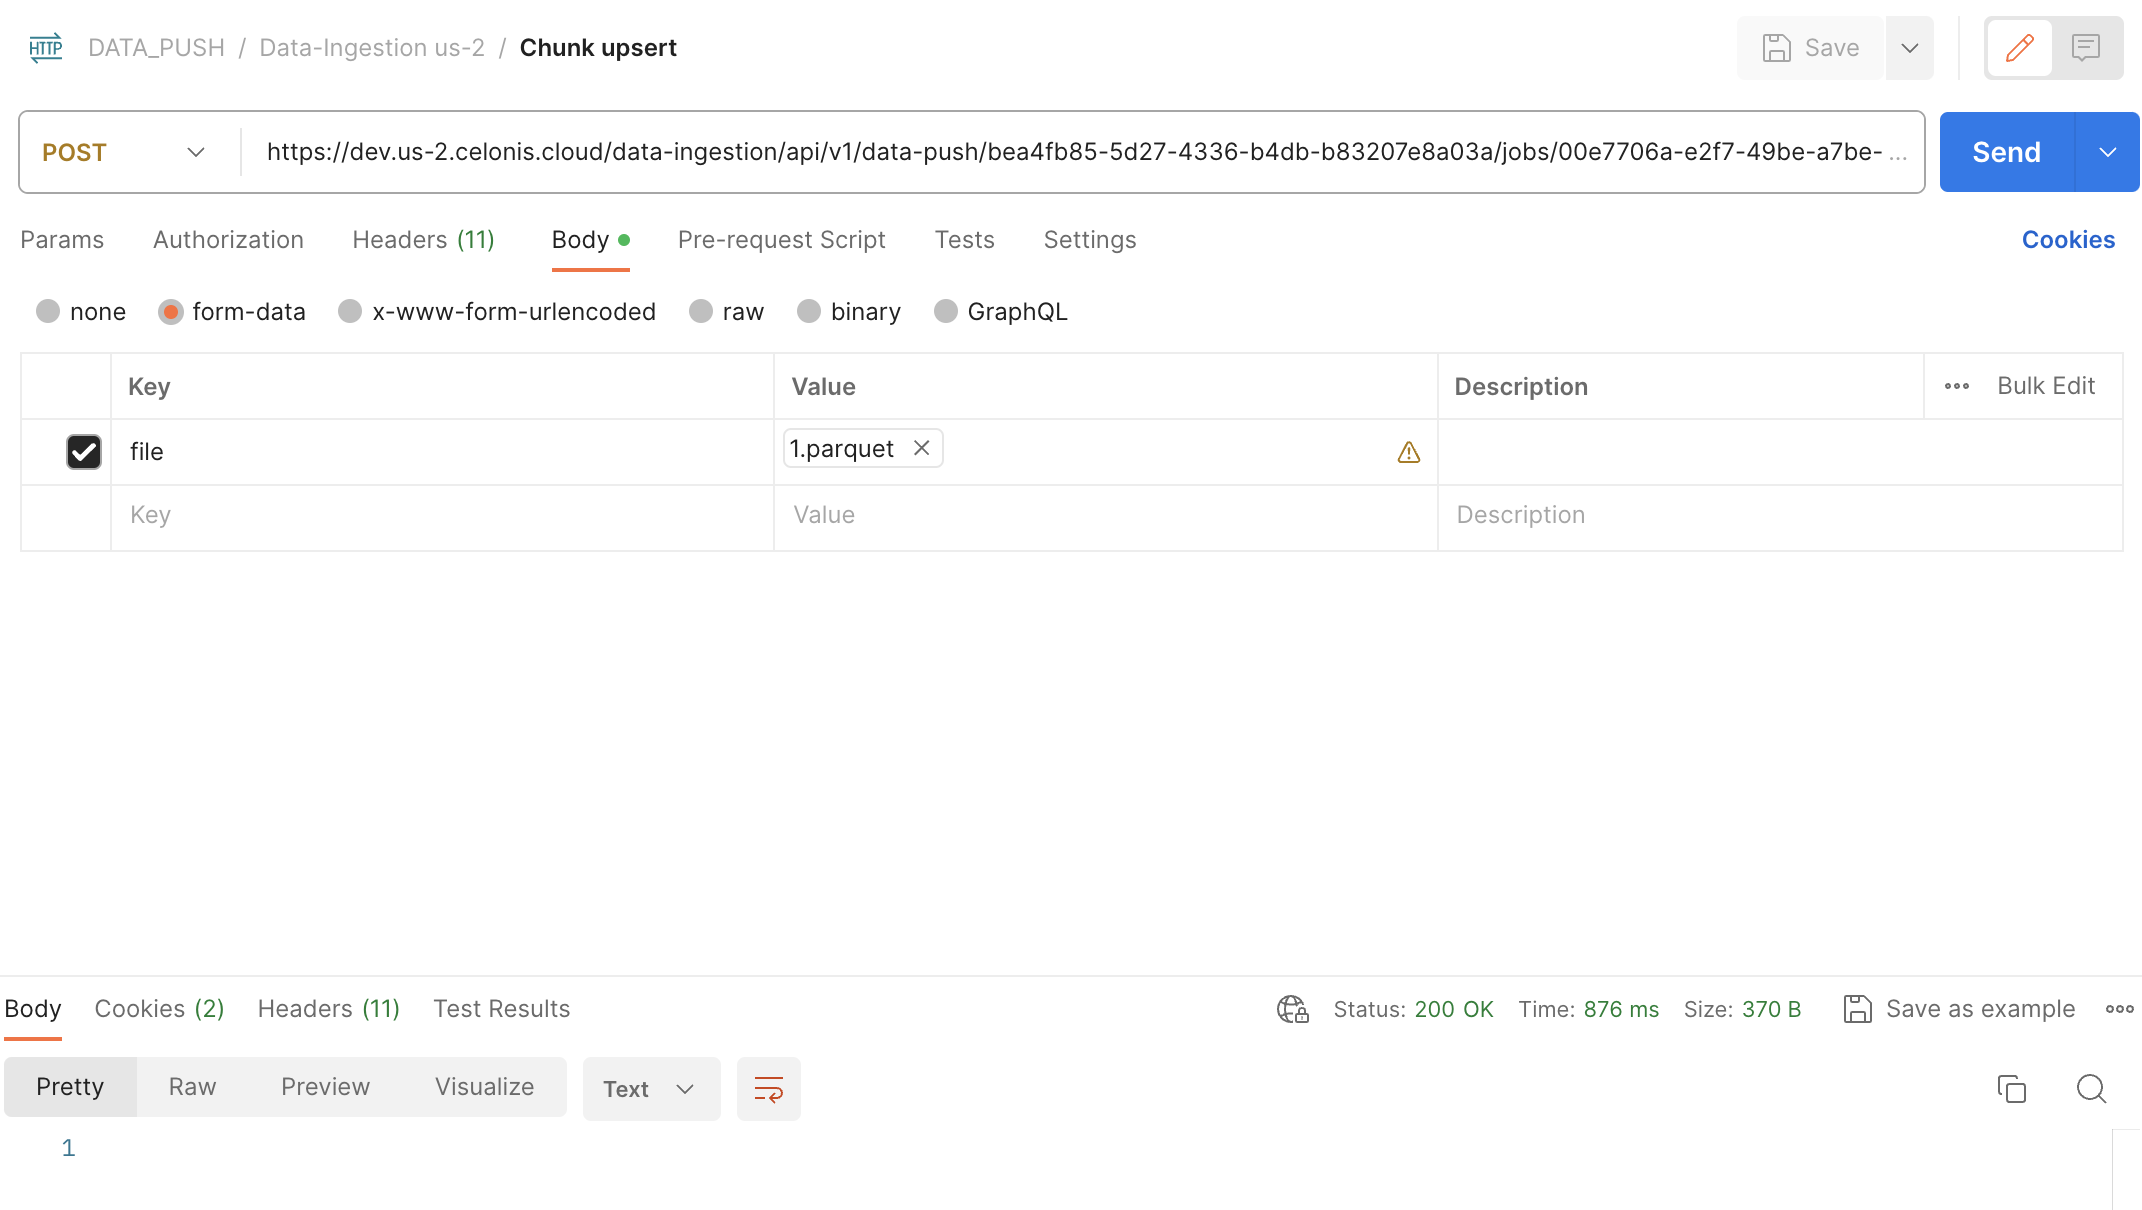
Once the Data Push Job has been created, use its ID to upsert chunks/files. Multiple files can be uploaded in the context of a single Data Push job. We support PARQUET and CSV file as chunks to be uploaded.
URL: https://dev.us-2.celonis.cloud/data-ingestion/api/v1/data-push/bea4fb85-5d27-4336-b4db-b83207e8a03a/jobs/00e7706a-e2f7-49be-a7be-6098628774d9/chunks/upserted
The POST request to execute the Data Push job will insert the data provided in the chunks of the Data Push job one by one. After the successful execution of a Data Push job, you will be able to see new records in the table.
URL: https://dev.us-2.celonis.cloud/data-ingestion/api/v1/data-push/bea4fb85-5d27-4336-b4db-b83207e8a03a/jobs/00e7706a-e2f7-49be-a7be-6098628774d9

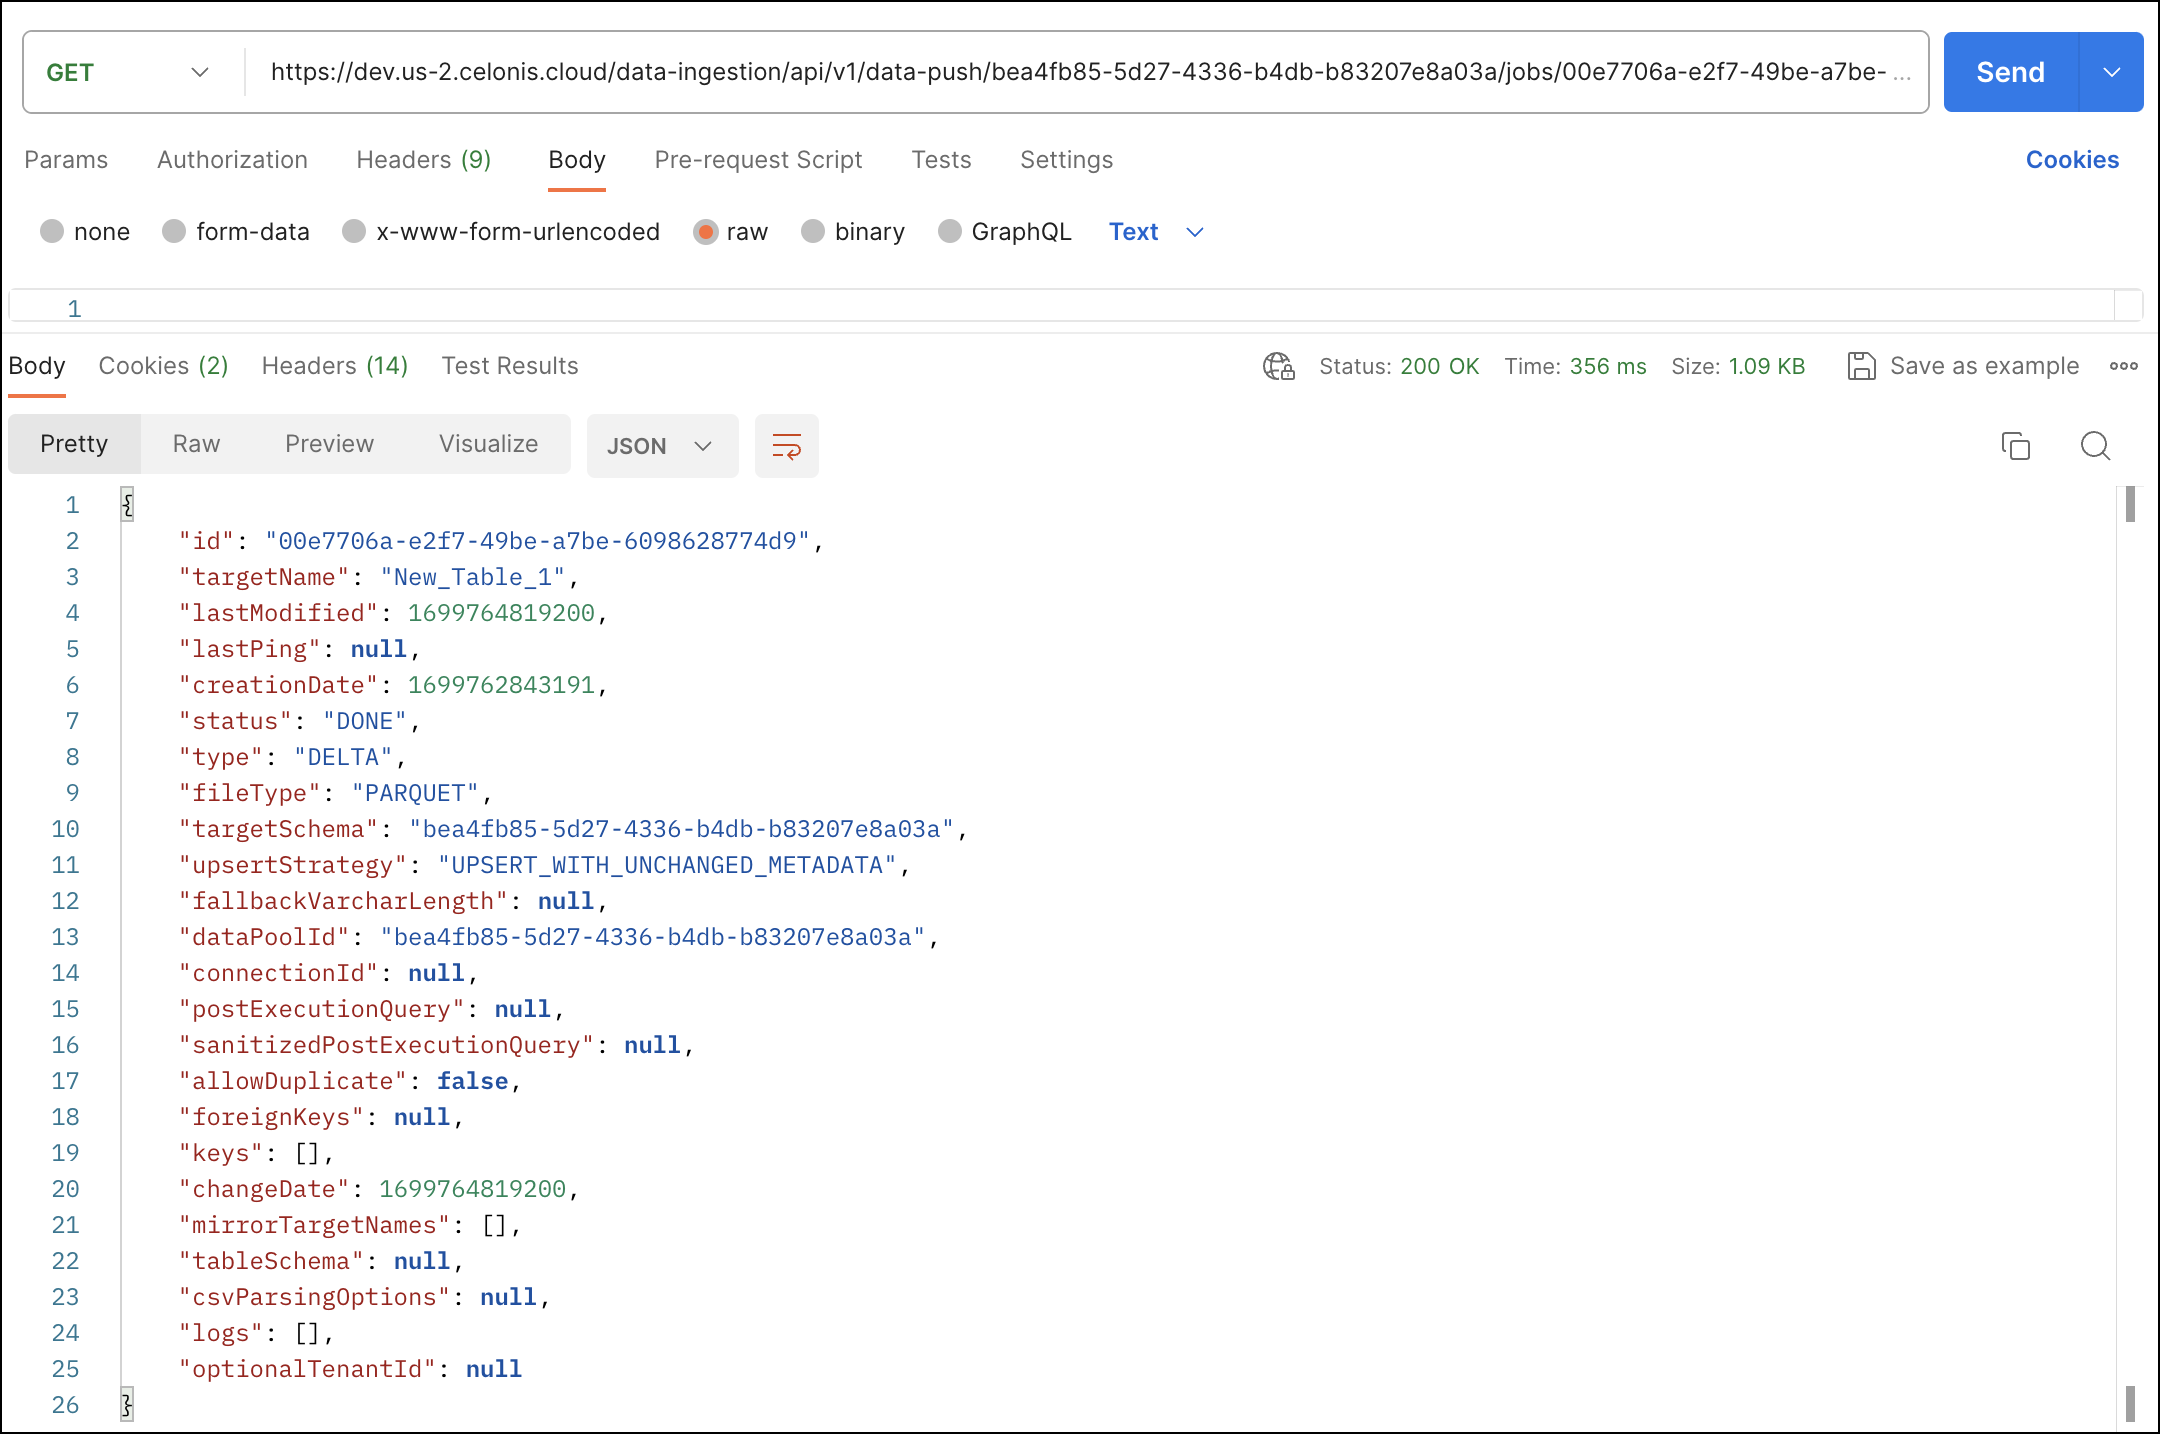
GET request (with URL: https://dev.us-2.celonis.cloud/data-ingestion/api/v1/data-push/bea4fb85-5d27-4336-b4db-b83207e8a03a/jobs/00e7706a-e2f7-49be-a7be-6098628774d9) can be used to get the details of a particular Data Push job.
A Data Push job can be canceled by a POST request (with URL GET request, with URL: https://dev.us-2.celonis.cloud/data-ingestion/api/v1/data-push/bea4fb85-5d27-4336-b4db-b83207e8a03a/jobs/00e7706a-e2f7-49be-a7be-6098628774d9/cancel), if the Data Push job is not in a DONE/CANCELED/ERROR status.