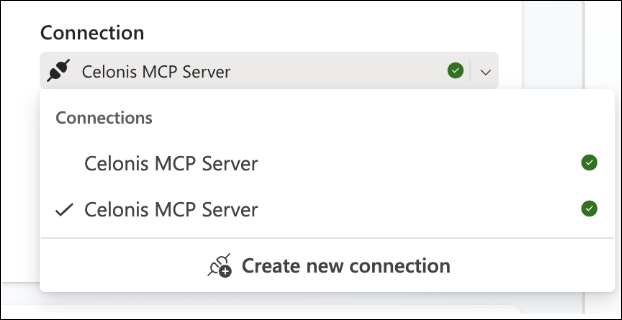
Currently, Microsoft (MSFT) Copilot Studio has the limitation of not being able to name the connection you create when adding an MCP tool. Therefore, when using the standard Celonis MCP Server at MSFT Copilot studio, you might face the issue of having multiple connections with the same name:
To mitigate this issue, you can follow this guide to create a custom Celonis MCP Server connection at MSFT Copilot Studio.
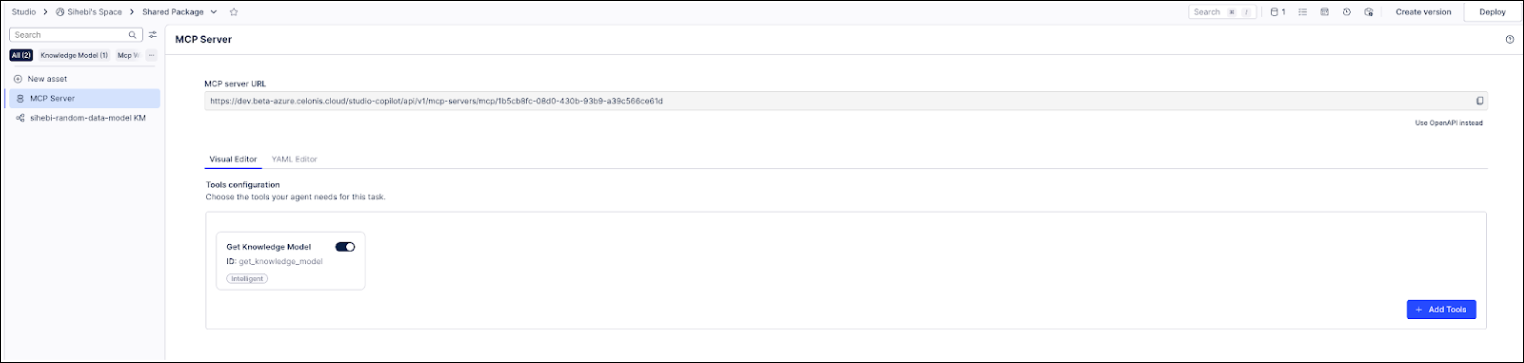
Create your MCP Server Asset in the Celonis Platform:
Navigate to the admin settings at Applications > Add New Application > OAuth Client.
Complete the form as shown below:

Dummy URI: https://global.consent.azure-apim.net/redirect/celonismcpserver
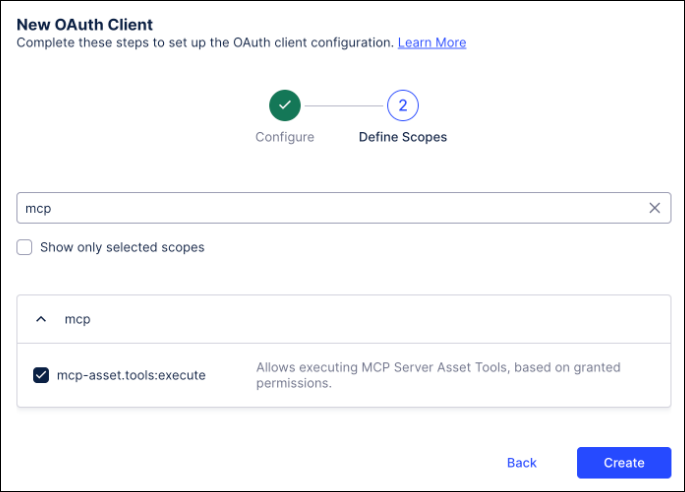
Select the mcp scope and click Create:
Save the Client ID and Client Secret.
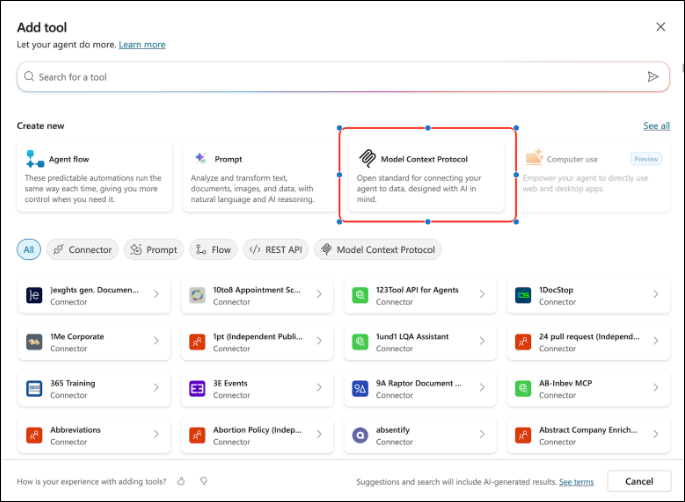
Navigate to MSFT Copilot Studio and add a new custom MCP tool:
Enter the tool details:
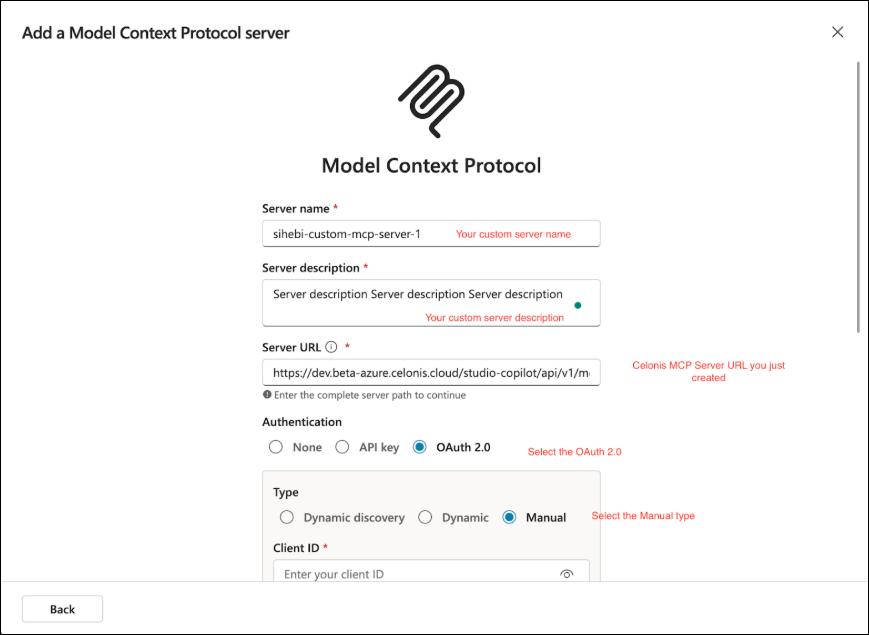
Fill in the authorization details as follows:
- Your Client ID and Client Secret
- Authorization URL:
https://[team].[realm].cloud/oauth2/authorize - Token URL template:
https://[team].[realm].celonis.cloud/oauth2/token - Refresh URL:
https://[team].[realm].celonis.cloud/oauth2/token - Scopes: mcp-asset.tools:execute
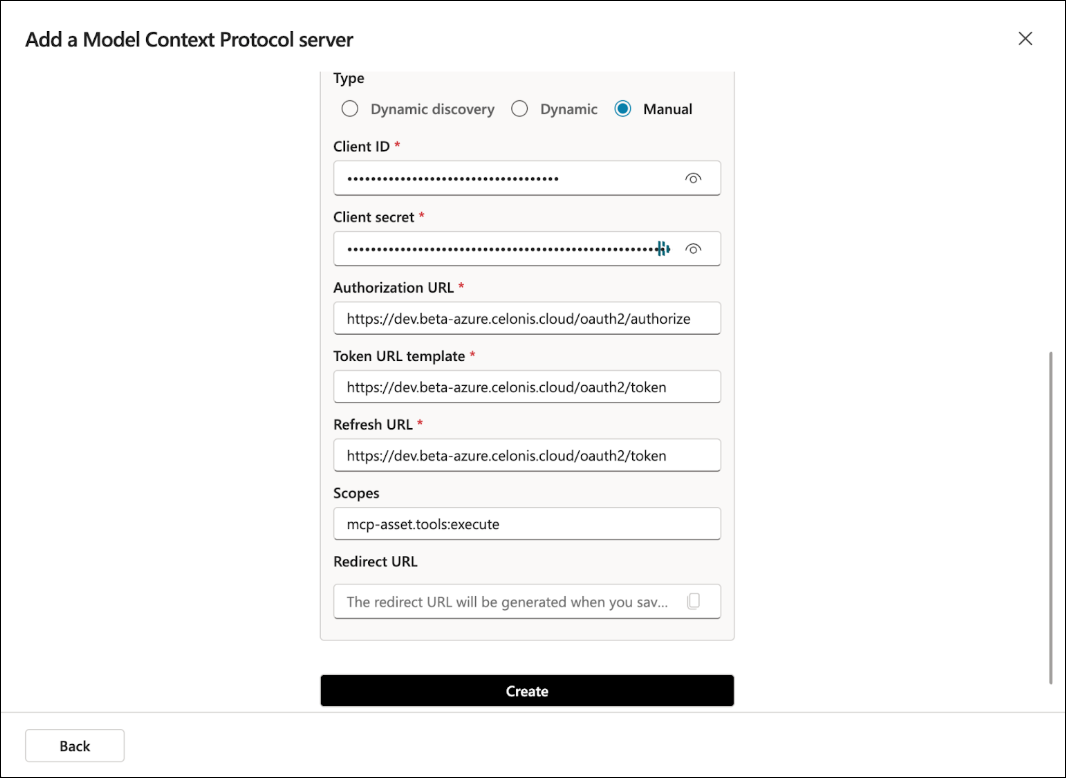
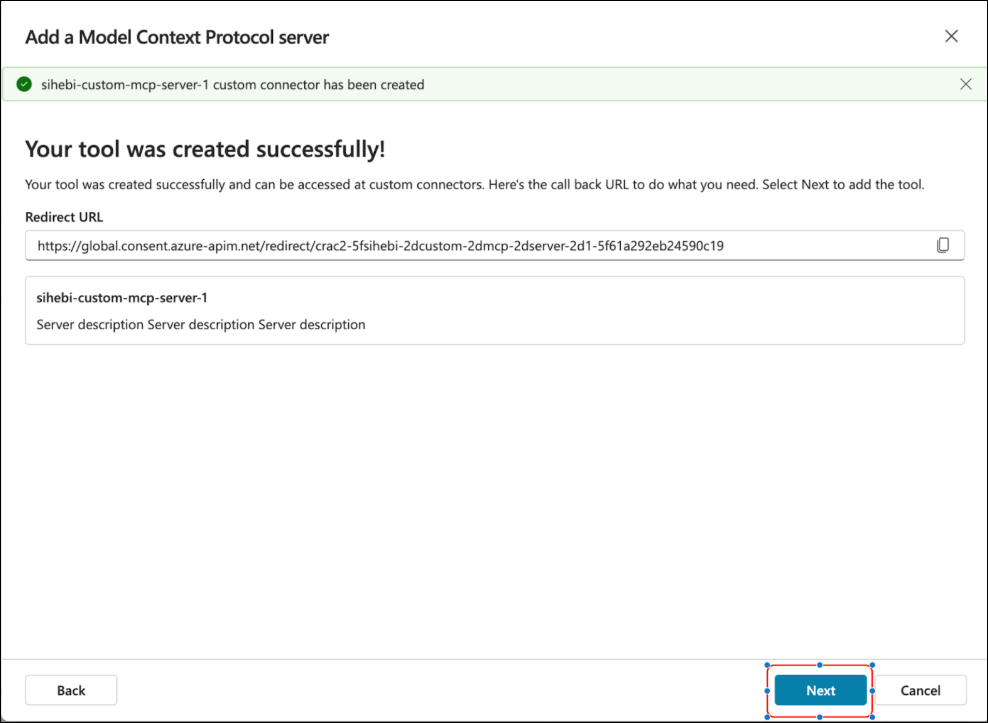
Click Create. After a moment, the following view will display:
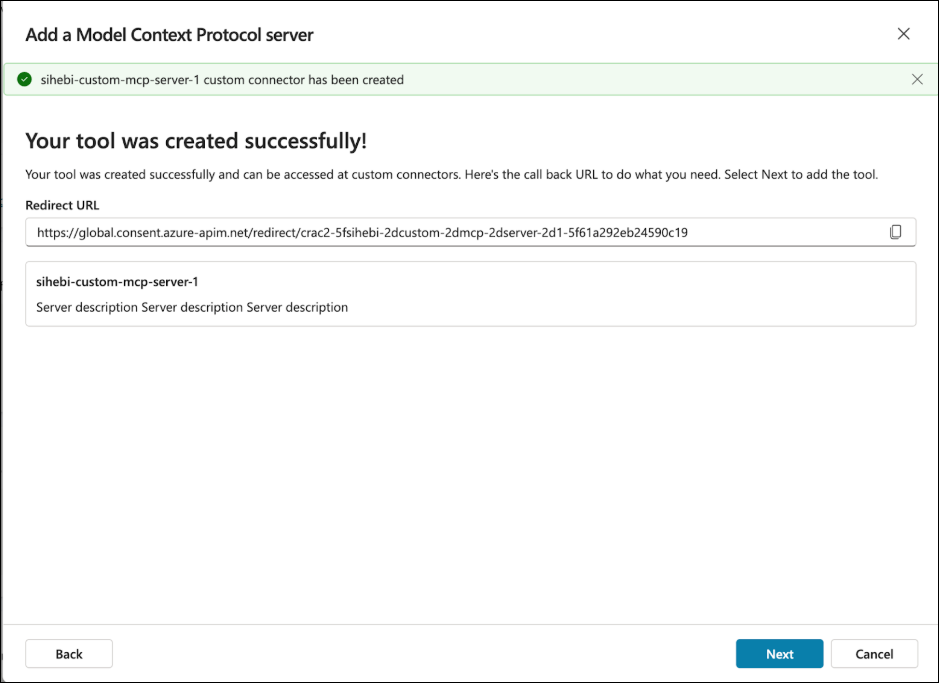
Copy the Redirect URL but DO NOT CLICK NEXT.
In the Celonis Platform, navigate to the admin settings > Applications and locate the client you created in the previous step. Click the three dots menu on the right and select Edit.
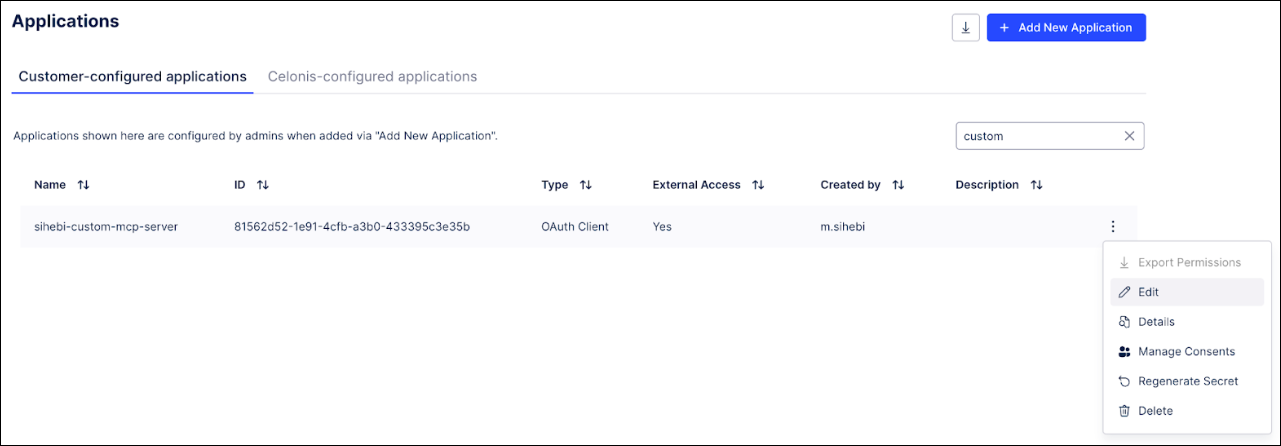
Update the Redirect URI with the Redirect URL from MSFT Copilot Studio:
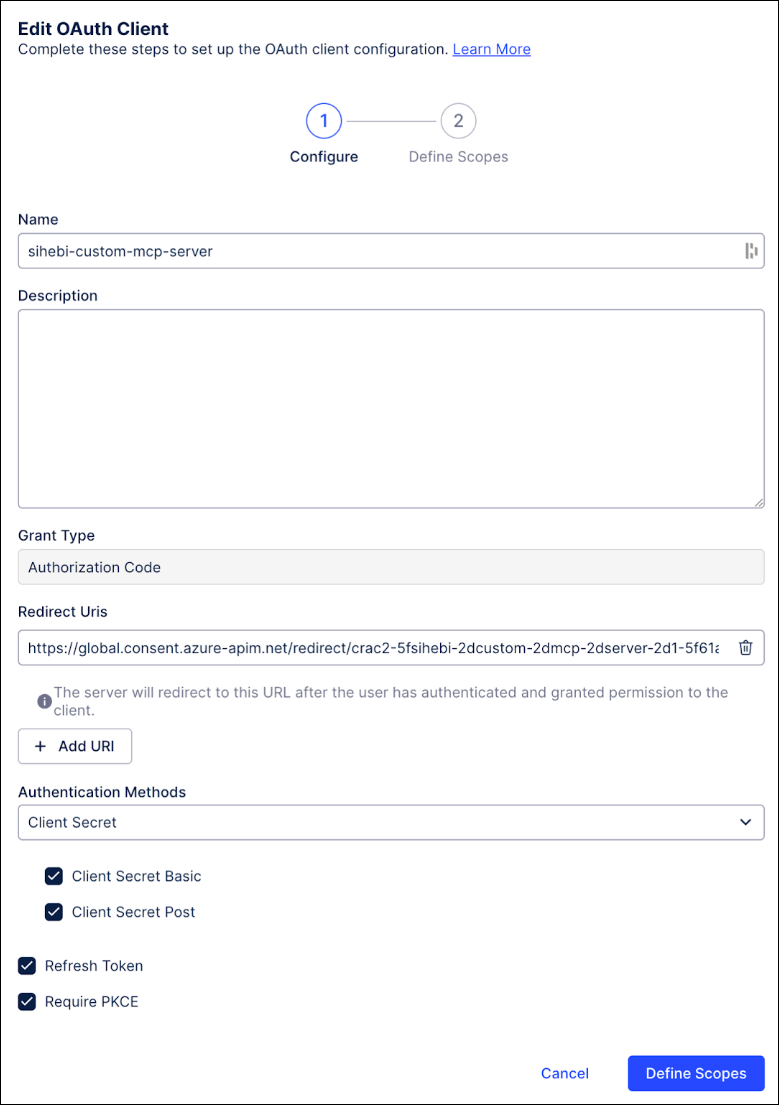
Click Define Scopes and then Save.
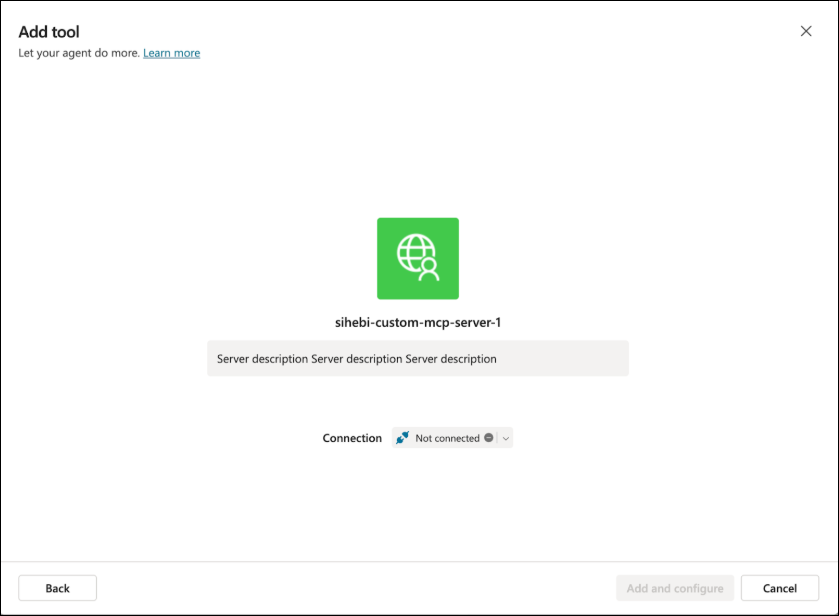
Navigate back to MSFT Copilot Studio and click Next:
The following window will display. Click the Connection button to create a new connection:
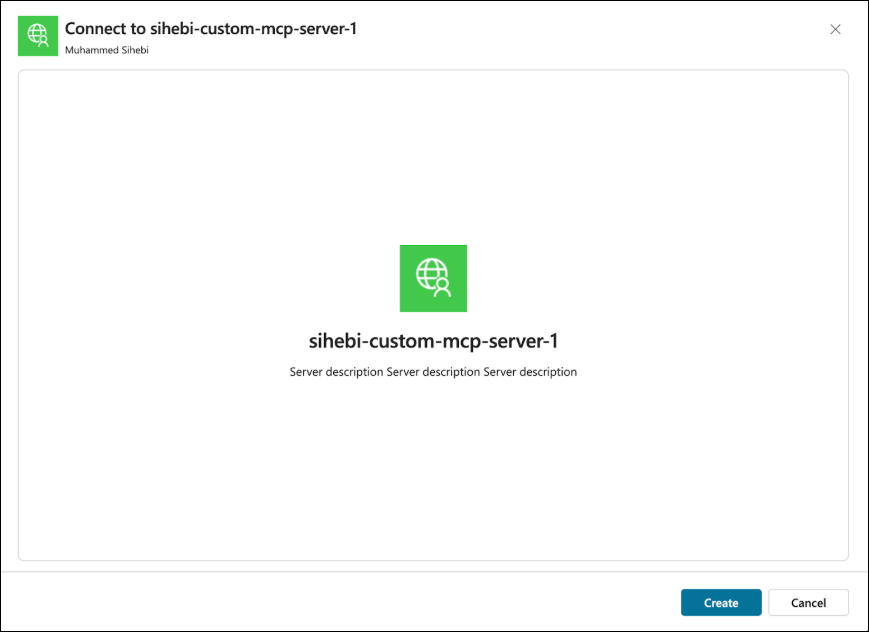
Once the connection is created, click the Add and configure button.
The connection is now added and your MCP server is connected to MSFT Copilot Studio.