This topic walks you through integrating the Celonis Agent Tools (MCP) Server with Amazon Quick. Once the integration is complete, you will have a Quick agent that can call Celonis MCP tools to query your knowledge models and retrieve process intelligence data.
The Celonis Agent Tools asset provides the following tools that can be enabled for your agents in Amazon Quick:
In this topic, we use Get Knowledge Model, Load Data, and Search Data as examples. Enable whichever tools best fit your use case.
| Tool | Description |
|---|---|
Call Process Copilot | Surface existing Process Copilots as tools |
Execute Orchestration | Trigger new Orchestration Engine process instances |
Get Insights | Used to answer a question like "How can I improve DPO?" and see Celonis-generated Insights |
Get Knowledge Model | Used to get the knowledge model for the current asset |
Get Process Contexts from Orchestration Engine | Retrieves Process Contexts from Orchestration Engine process instances |
Load Data | Equips the LLM with data access for review and analysis. Ideal for summarizing or retrieving data before processing |
Resume Orchestration Execution | Resume execution of an Orchestration Engine process instance |
Search Data | Search all data instances available in the platform |
Trigger Action Flow | Connect your Process Copilot to an existing Action Flow and instruct your Process Copilot when to surface this action to users |
Before you begin, ensure that you have:
- A Celonis account with access to Agent Tools (MCP) Asset enabled for your team;
- Administrative access to your Celonis team in order to create OAuth clients;
- An AWS account with permissions to configure Amazon Quick;
- A Celonis Knowledge Model published in Studio.
Open Studio and navigate to the Studio package containing your Knowledge Model.
Click + New asset → Agent Tools (MCP).
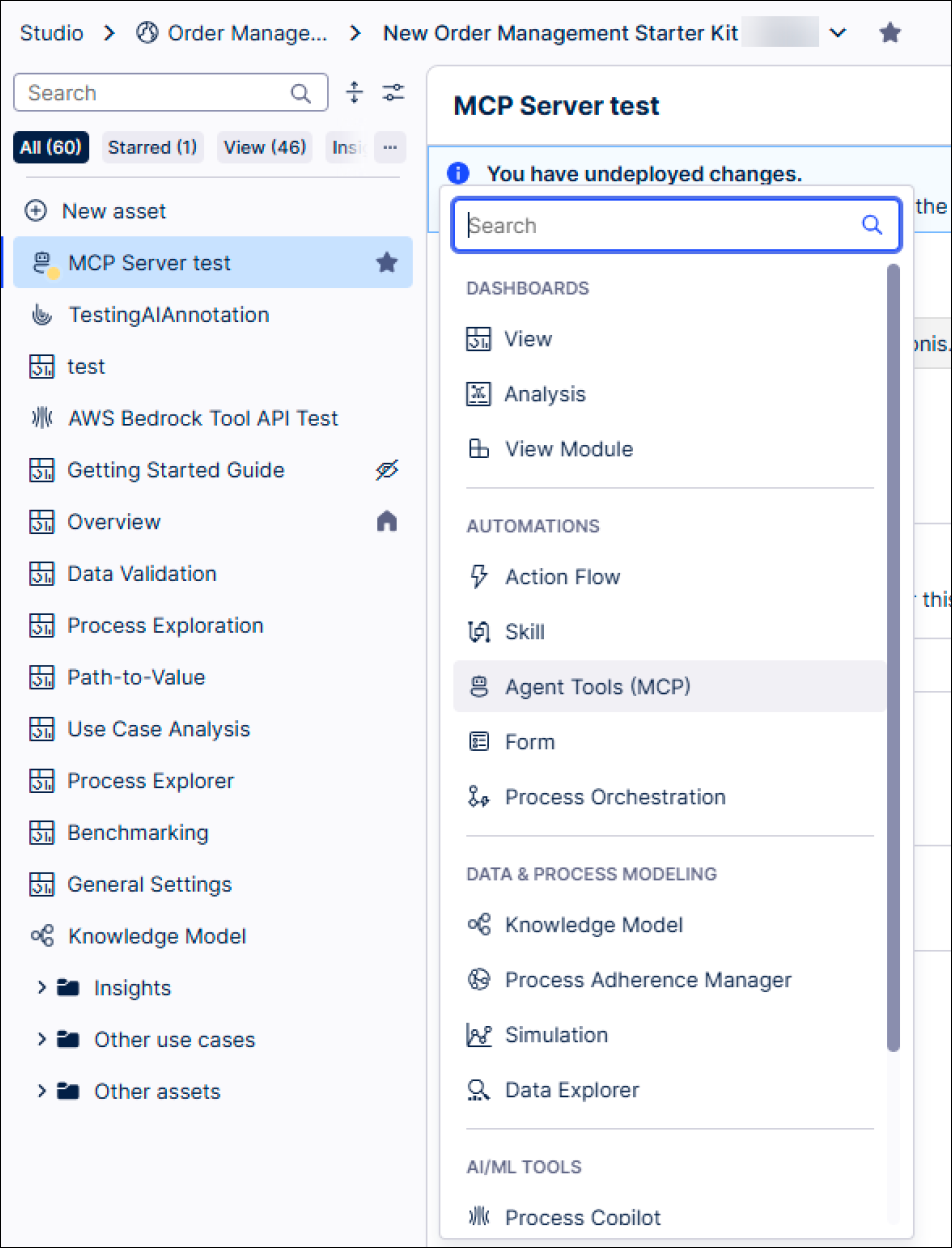
Configure the new MCP asset:
Asset Name: MCP Server (or your preferred name)
Knowledge Model: Select your target Knowledge Model
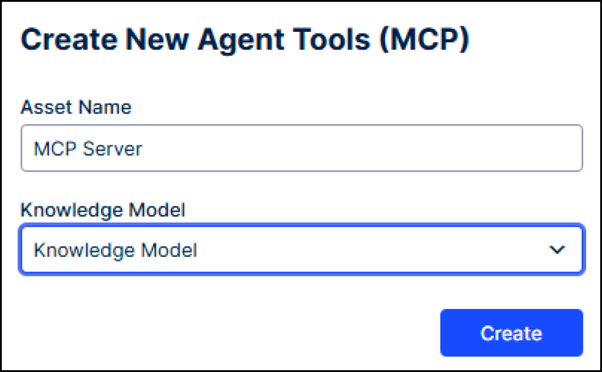
Click Create.
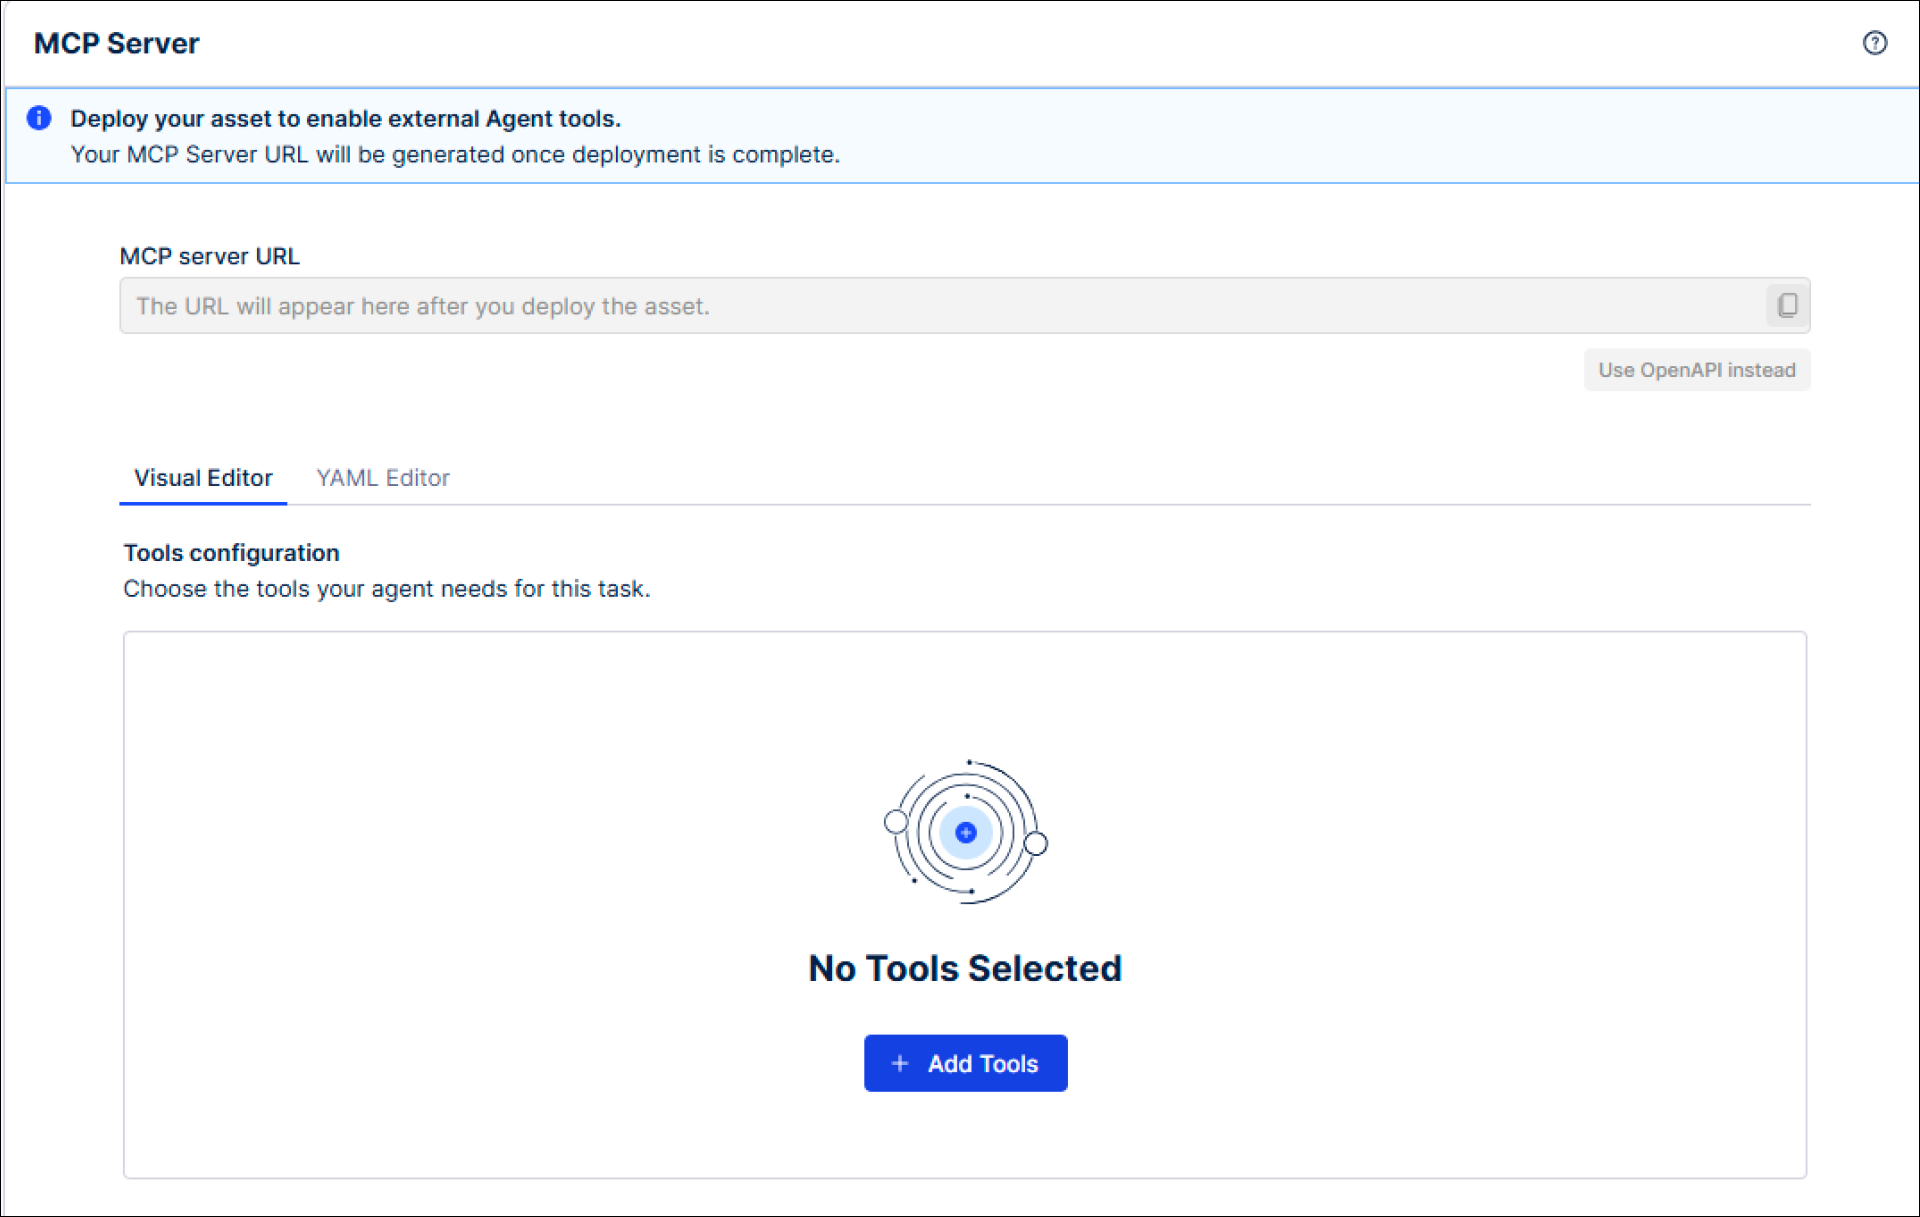
In the new asset, click Add Tools.
Select and configure tools based on your requirements. For this example, we used:
load_data- Retrieve specific columns and rows from knowledge model entities.get_knowledge_model- Discover entities and columns in the knowledge model.search_data- Run keyword searches across the knowledge model.
Use the toggle switches to enable the tools you want to use and then save the asset.

The Celonis MCP Server supports two OAuth 2.0 grant types. Both types are also supported by Amazon Quick.
| Grant Type | Use Case |
|---|---|
| Client Credentials (2LO) | Agents and automated workflows where no human login is required. |
| Authorization Code (3LO) | User-facing applications where MCP calls should respect the individual user's Celonis permissions. |
In the Celonis Platform, navigate to Admin & Settings → Applications.
Click Add New Application → OAuth Client.
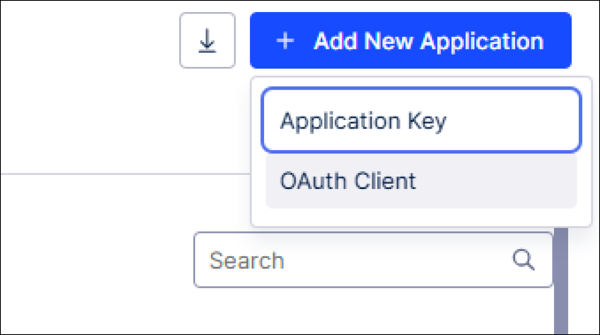
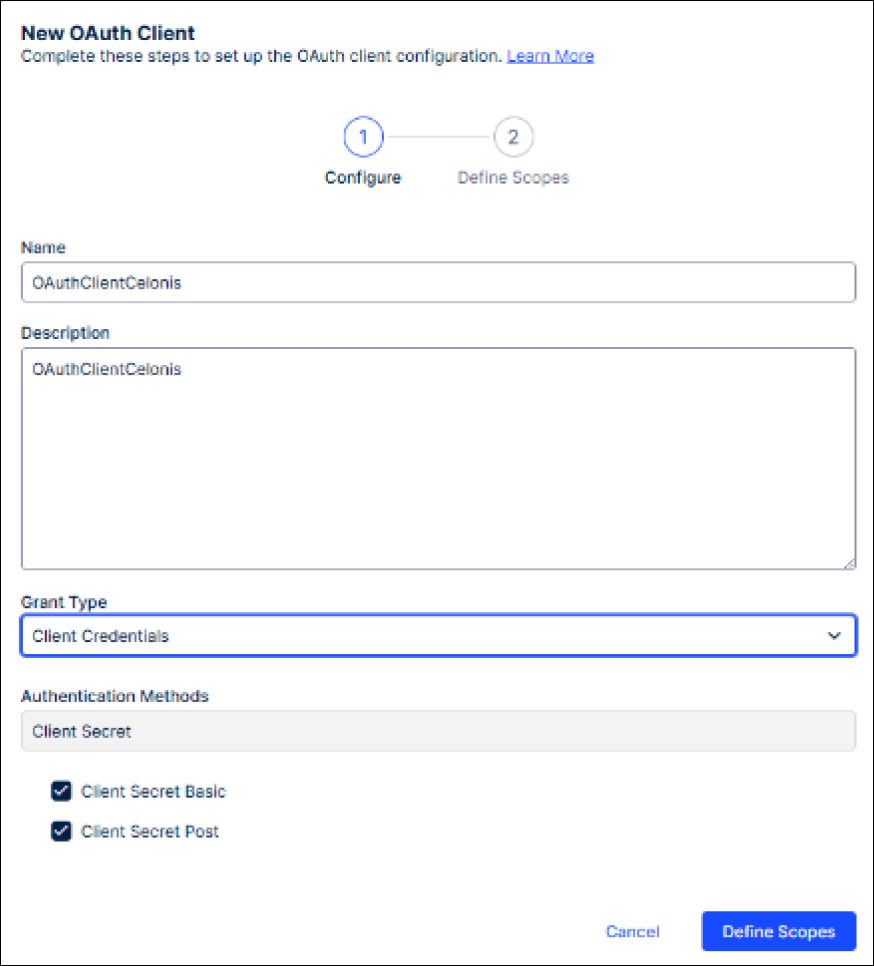
Configure the OAuth client based on your preferred grant type:
For Client Credentials (2LO):
Setting Value Grant Type Client CredentialsAuthentication Method Client Secret BasicandClient Secret PostScope mcp-asset.tools:executeFor Authorization Code (3LO):
Setting Value Grant Type Authorization CodeRedirect URI https://us-east-1.quicksight.aws.amazon.com/sn/oauthcallbackAuthentication Method Client Secret BasicandClient Secret PostRefresh Token Enabled Scope mcp-asset.tools:executeClick Define Scopes.
Expand the mcp scope group and select mcp-asset.tools:execute.
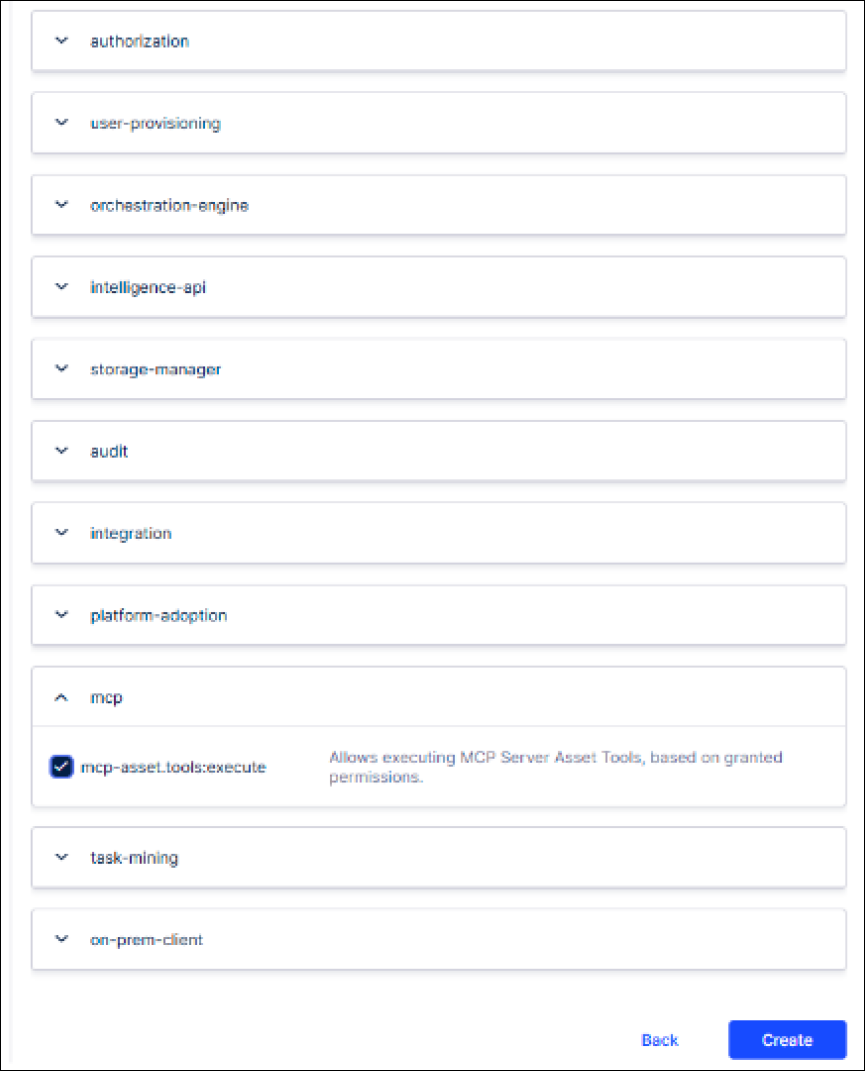
Click Create.
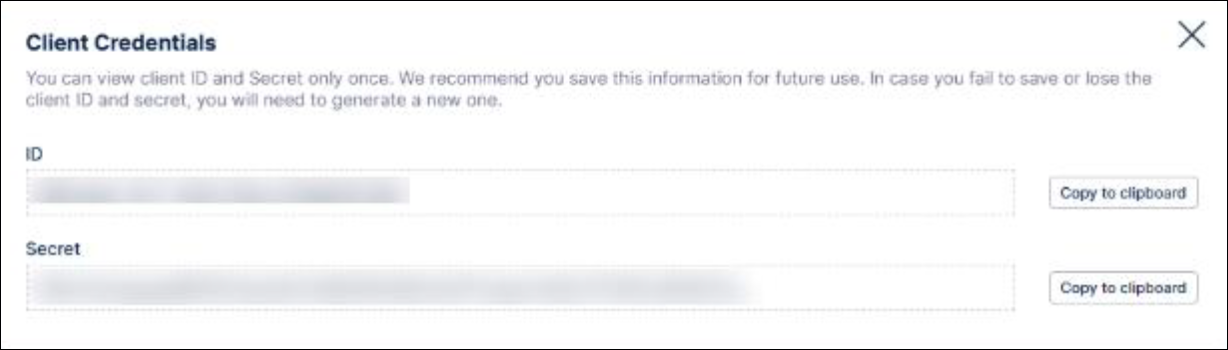
Important: Copy and securely store the credentials (displayed only once):
Client ID
Client Secret
Without the Use permission assigned, token requests will succeed but the MCP Server rejects tool calls with an authorization error.
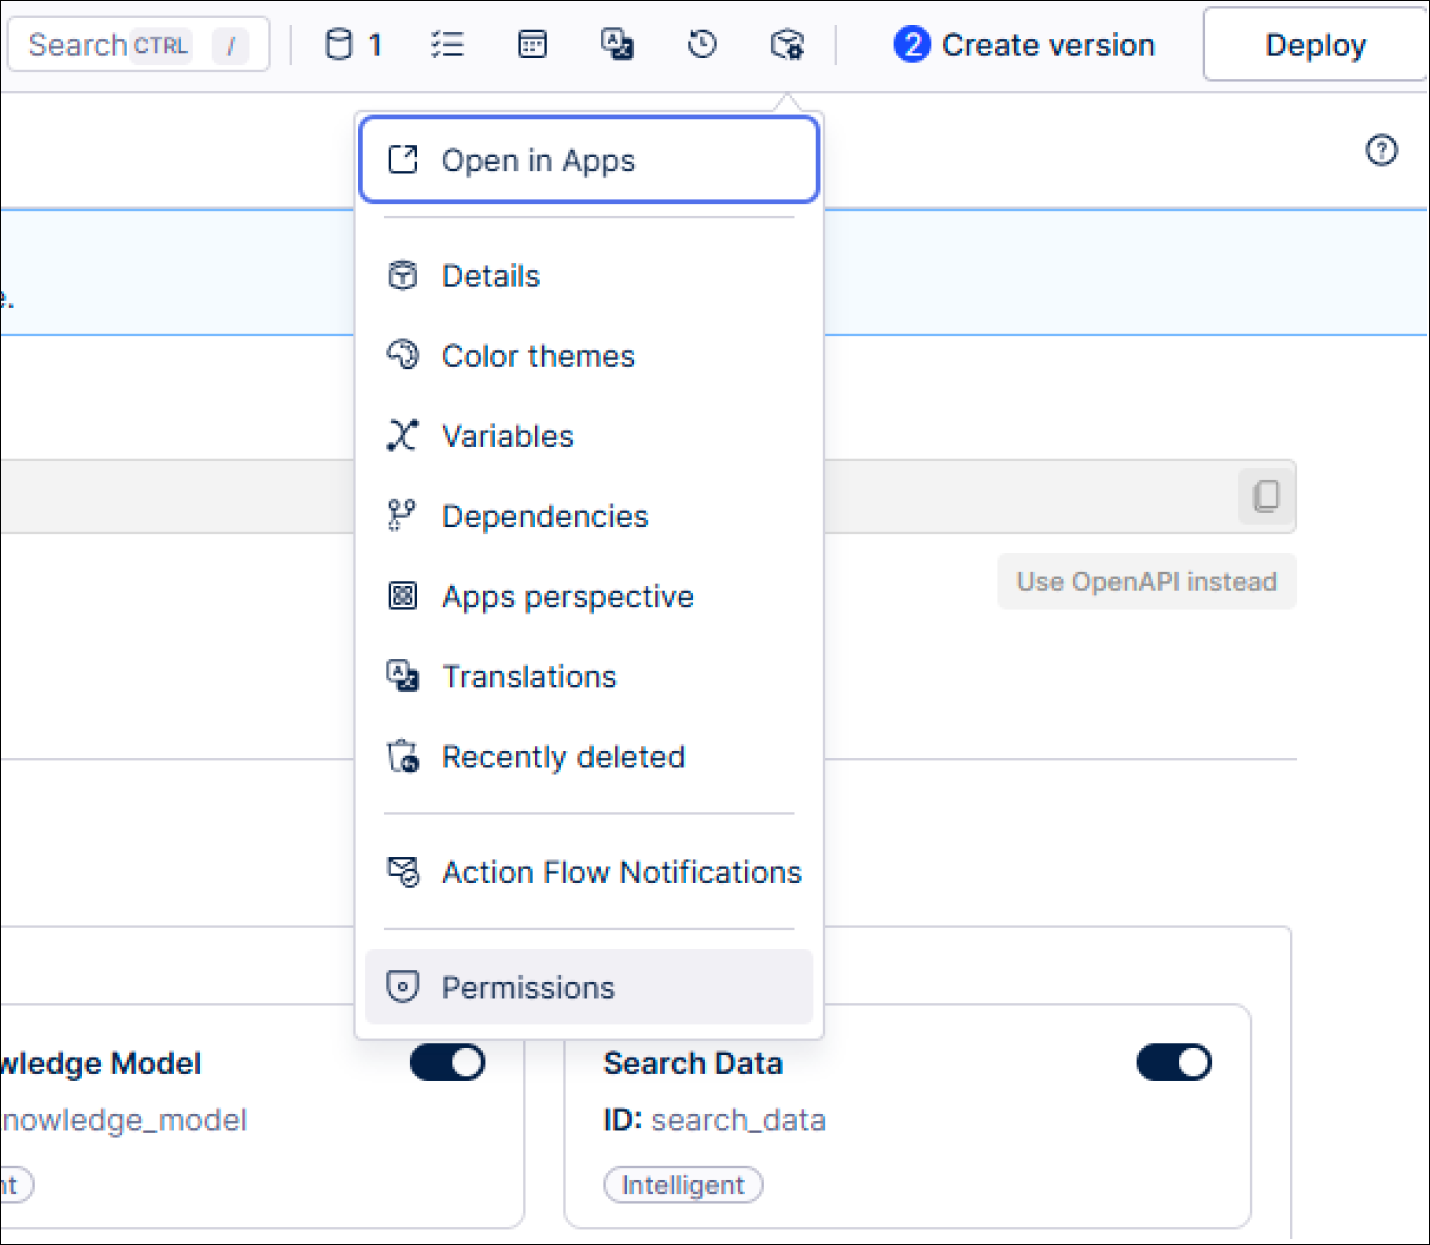
- In the Celonis Studio, open the package containing your Agent Tools asset.
- Click Package Settings → Permissions.
- Search for the OAuth client application that you created above (e.g., "OAuthClientCelonis").
- Grant the Use permission to your new OAuth client.
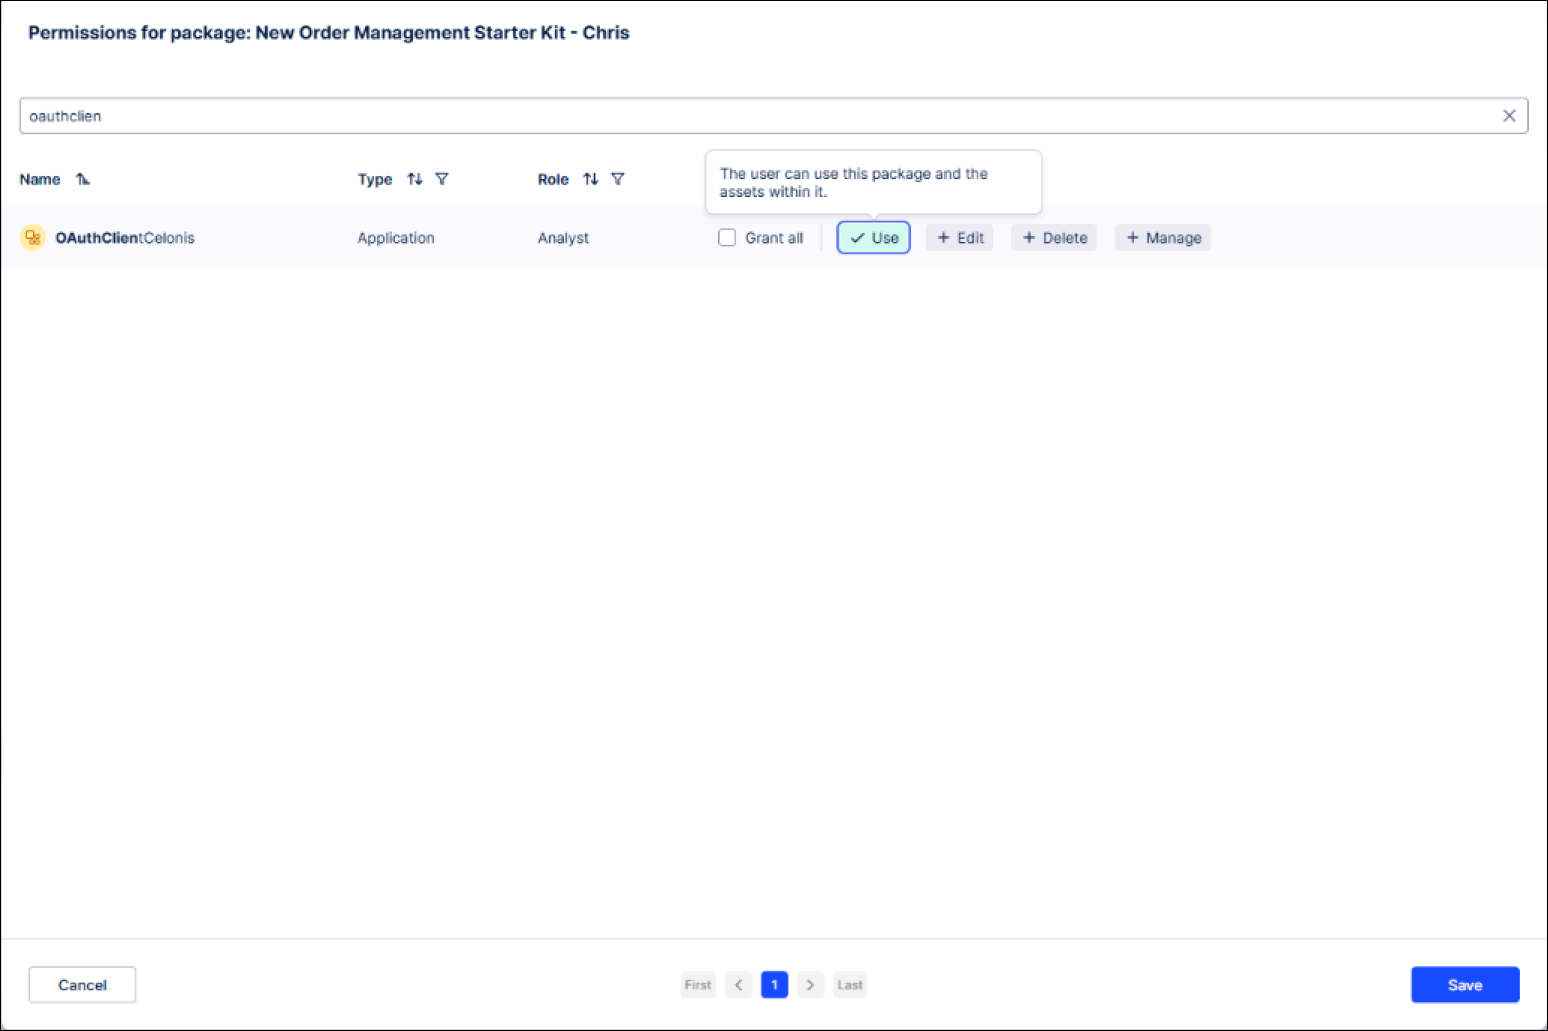
- Click Save.
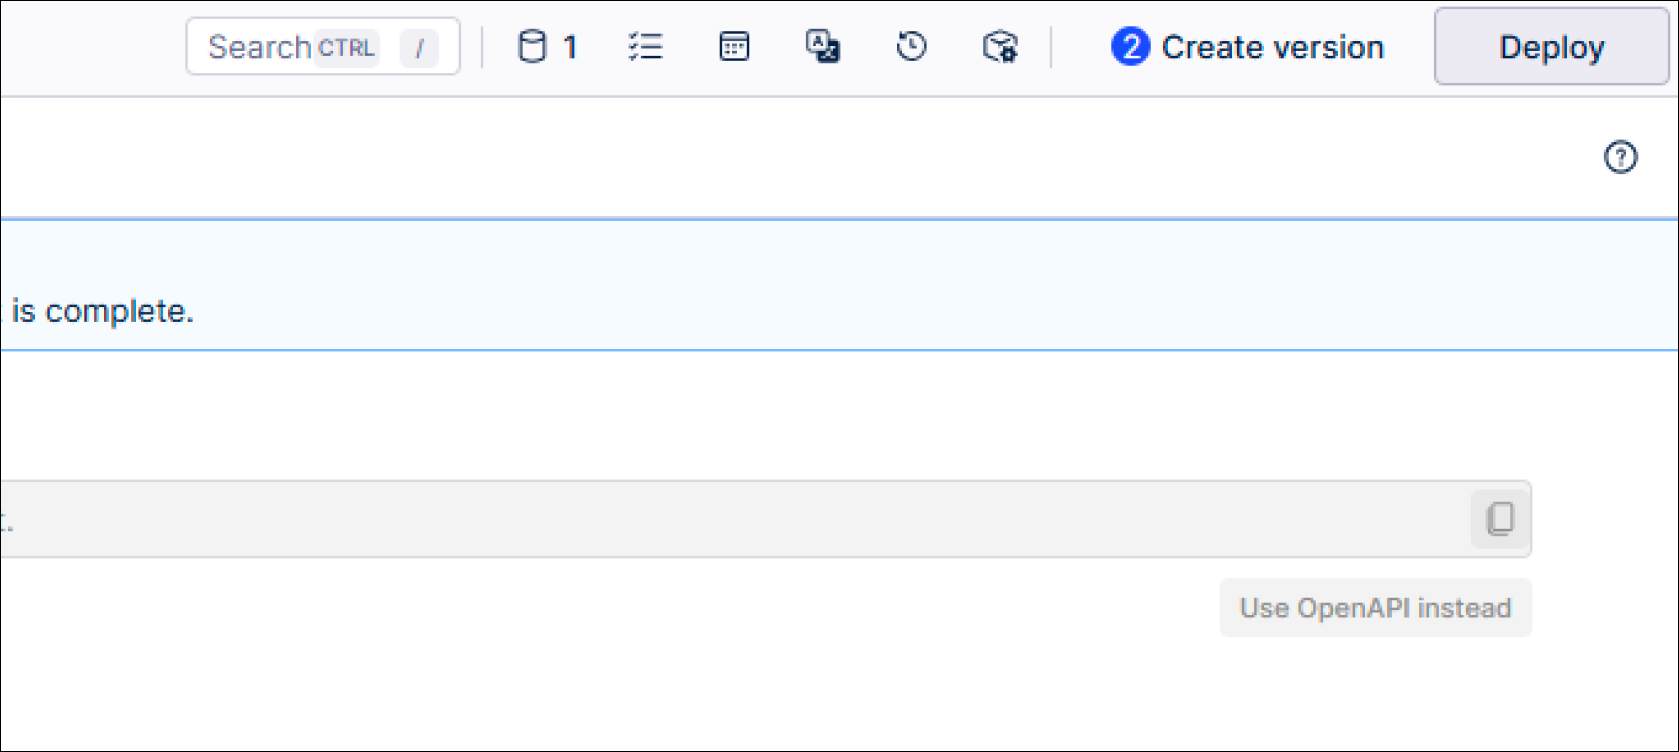
Open the Agent Tools (MCP) asset in Celonis Studio.
Click Create Version.
Click Deploy to publish the MCP Server.
Once the deployment has finished, copy the MCP Server URL. It will have a format similar to this example:
https://<team>.<realm>.celonis.cloud/studio-copilot/api/v1/mcp-servers/mcp/<server-id>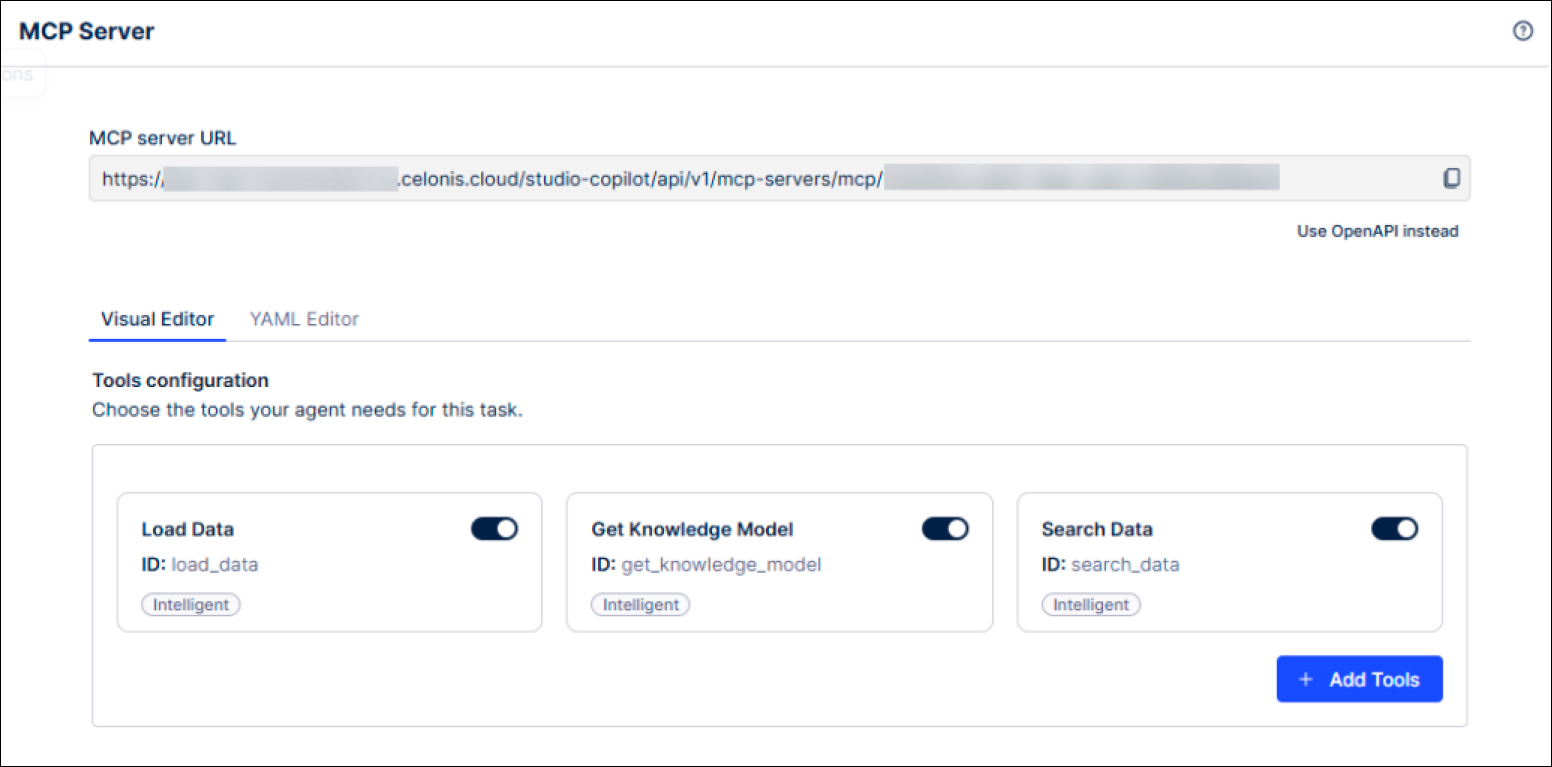
Save this URL for the AWS configuration.
After completing the steps above, you should have the following values:
| Value | Description |
|---|---|
| MCP Server URL | Displayed at the top of your published Agent Tools asset |
| Token URL | https://<team>.<realm>.celonis.cloud/oauth2/token |
| Client ID | From the OAuth client creation |
| Client Secret | From the OAuth client creation |
In Amazon Quick, navigate to Connectors → Create for your team.
Select Model Context Protocol from the list of available integration types.
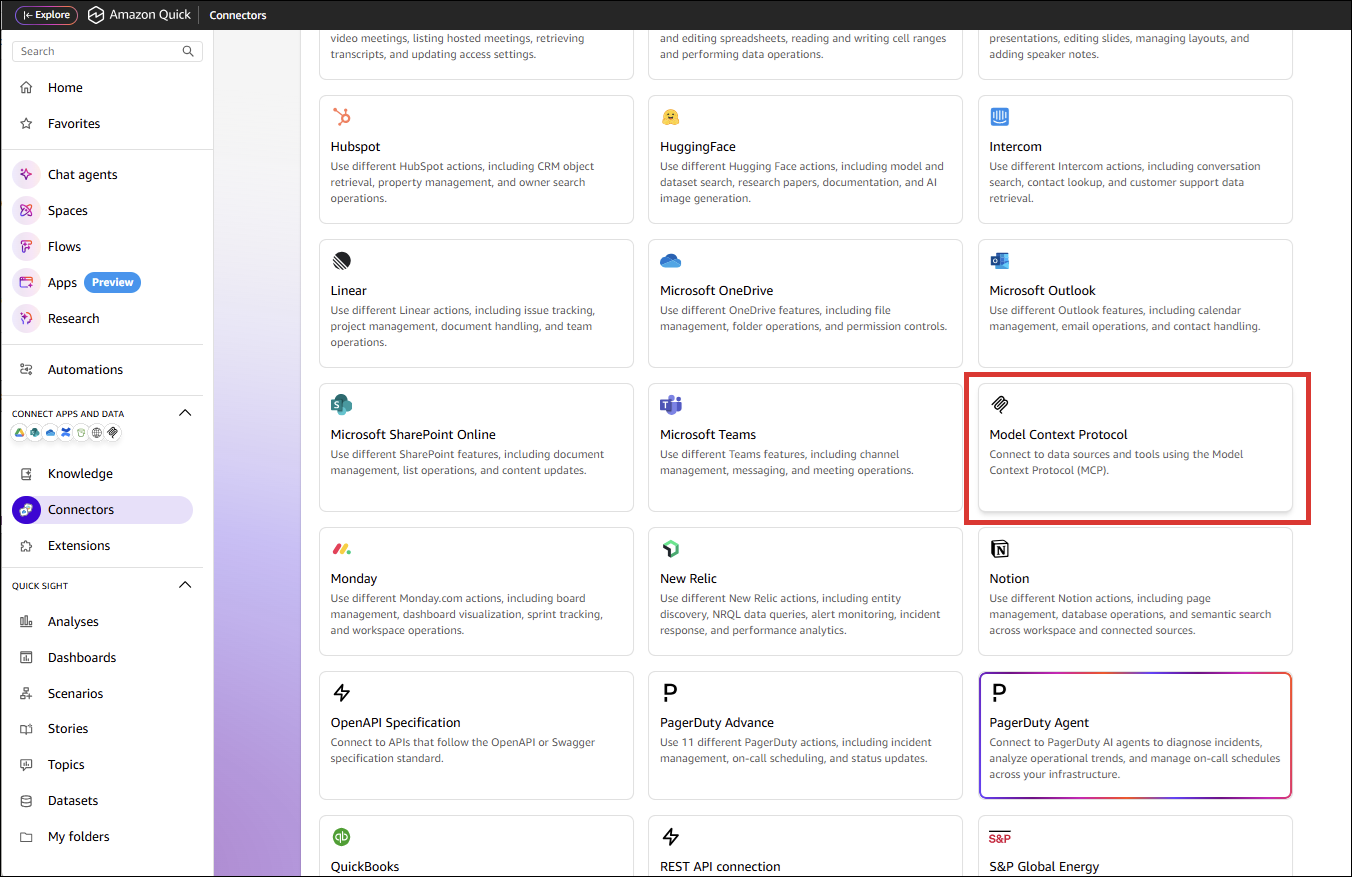
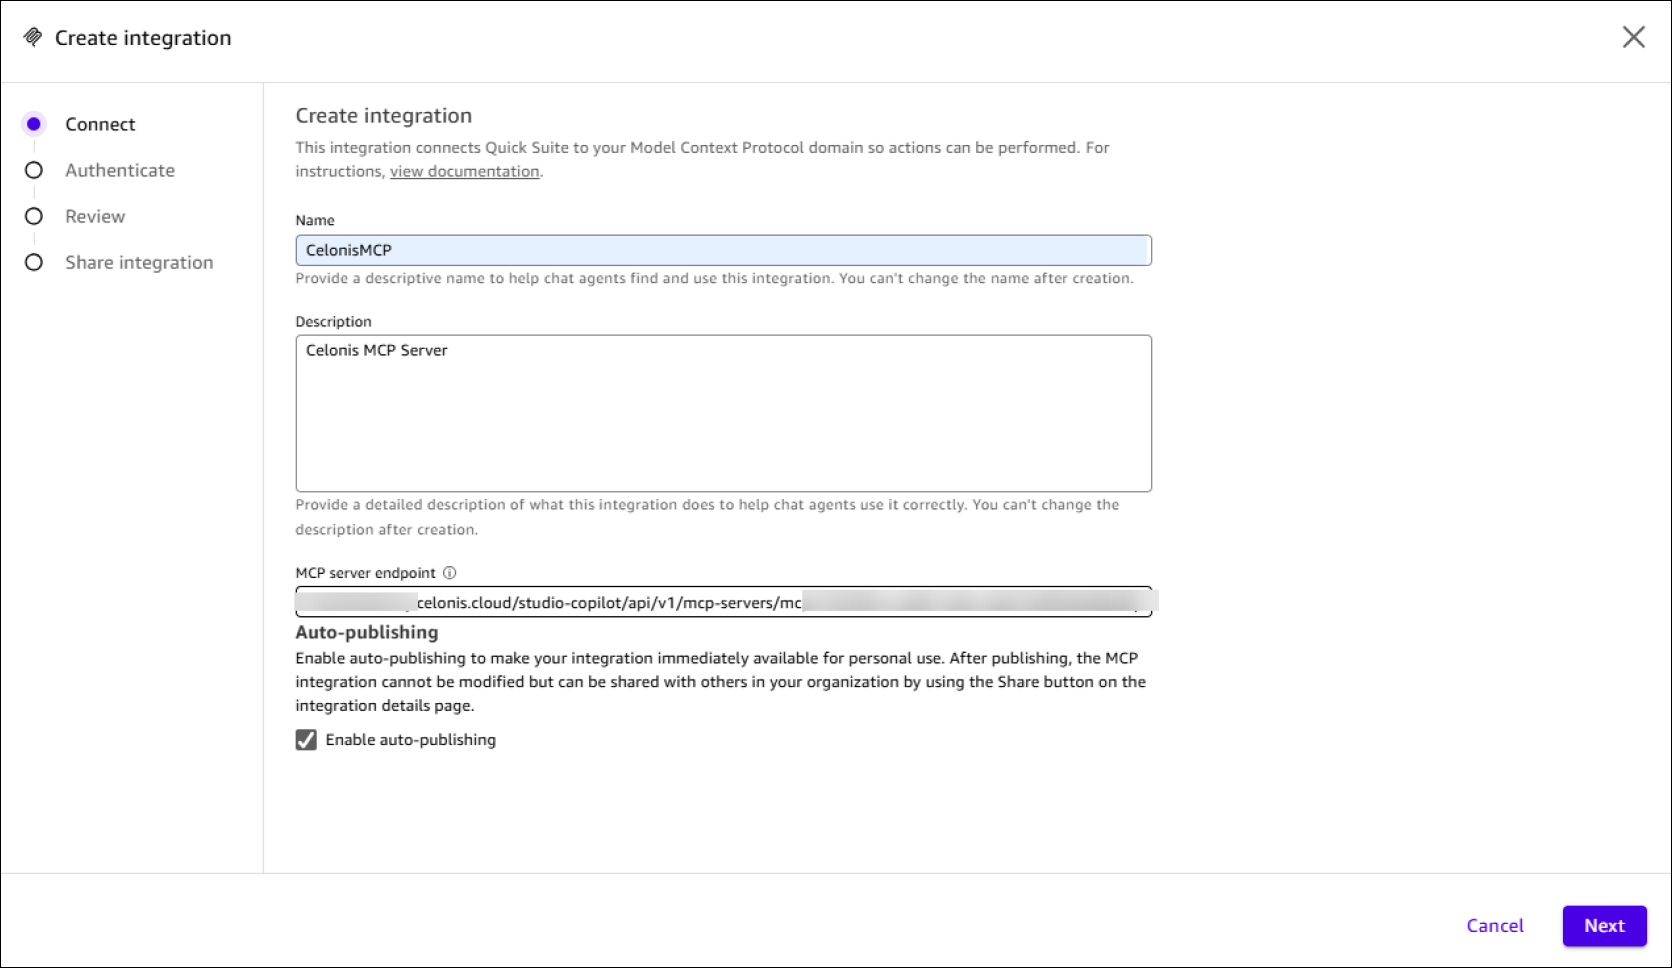
Click Create Integration and complete the following fields:
Name: A descriptive name for the integration (e.g., Celonis MCP).
Description: (Optional) A short description of what this integration provides.
MCP Server Endpoint URL: Paste the MCP Server URL copied from Celonis.
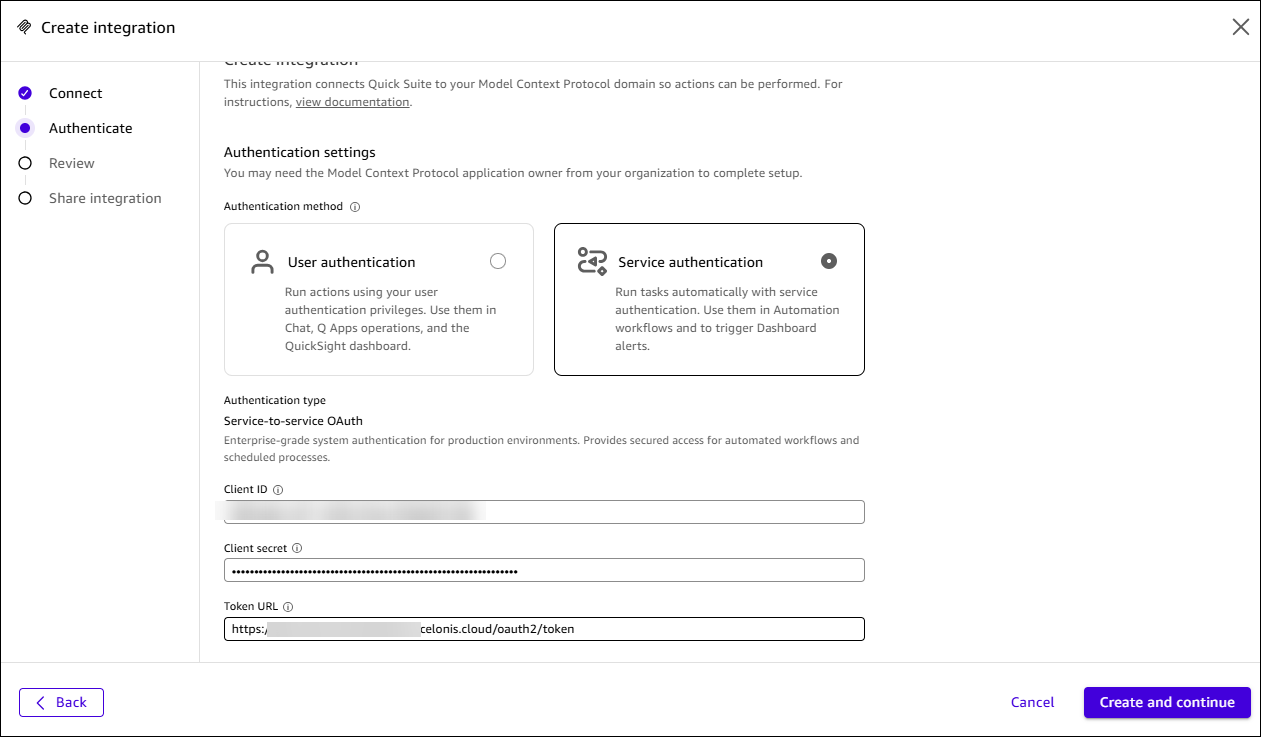
On the Authenticate tab, select the appropriate authentication method:
- Service Authentication for Client Credentials (2LO)
- User Authentication for Authorization Code (3LO)
Enter the following connection parameters:
For Client Credentials:
Parameter Value Grant Type Client Credentials Client ID Your OAuth Client ID Client Secret Your OAuth Client Secret Access Token URL https://<team>.<realm>.celonis.cloud/oauth2/tokenFor Authorization Code (with PKCE):
Parameter Value Grant Type Authorization Code (with PKCE) Client ID Your OAuth Client ID Client Secret Your OAuth Client Secret Access Token URL https://<team>.<realm>.celonis.cloud/oauth2/tokenAuthorization URL https://<team>.<realm>.celonis.cloud/oauth2/authorizeRedirect URI https://us-east-1.quicksight.aws.amazon.com/sn/oauthcallbackAuthentication Methods Client Secret Click Create and continue to proceed.
Save the integration and wait for Quick to complete tool discovery.
Verify that Quick discovers the tools you enabled on the Agent Tools asset.
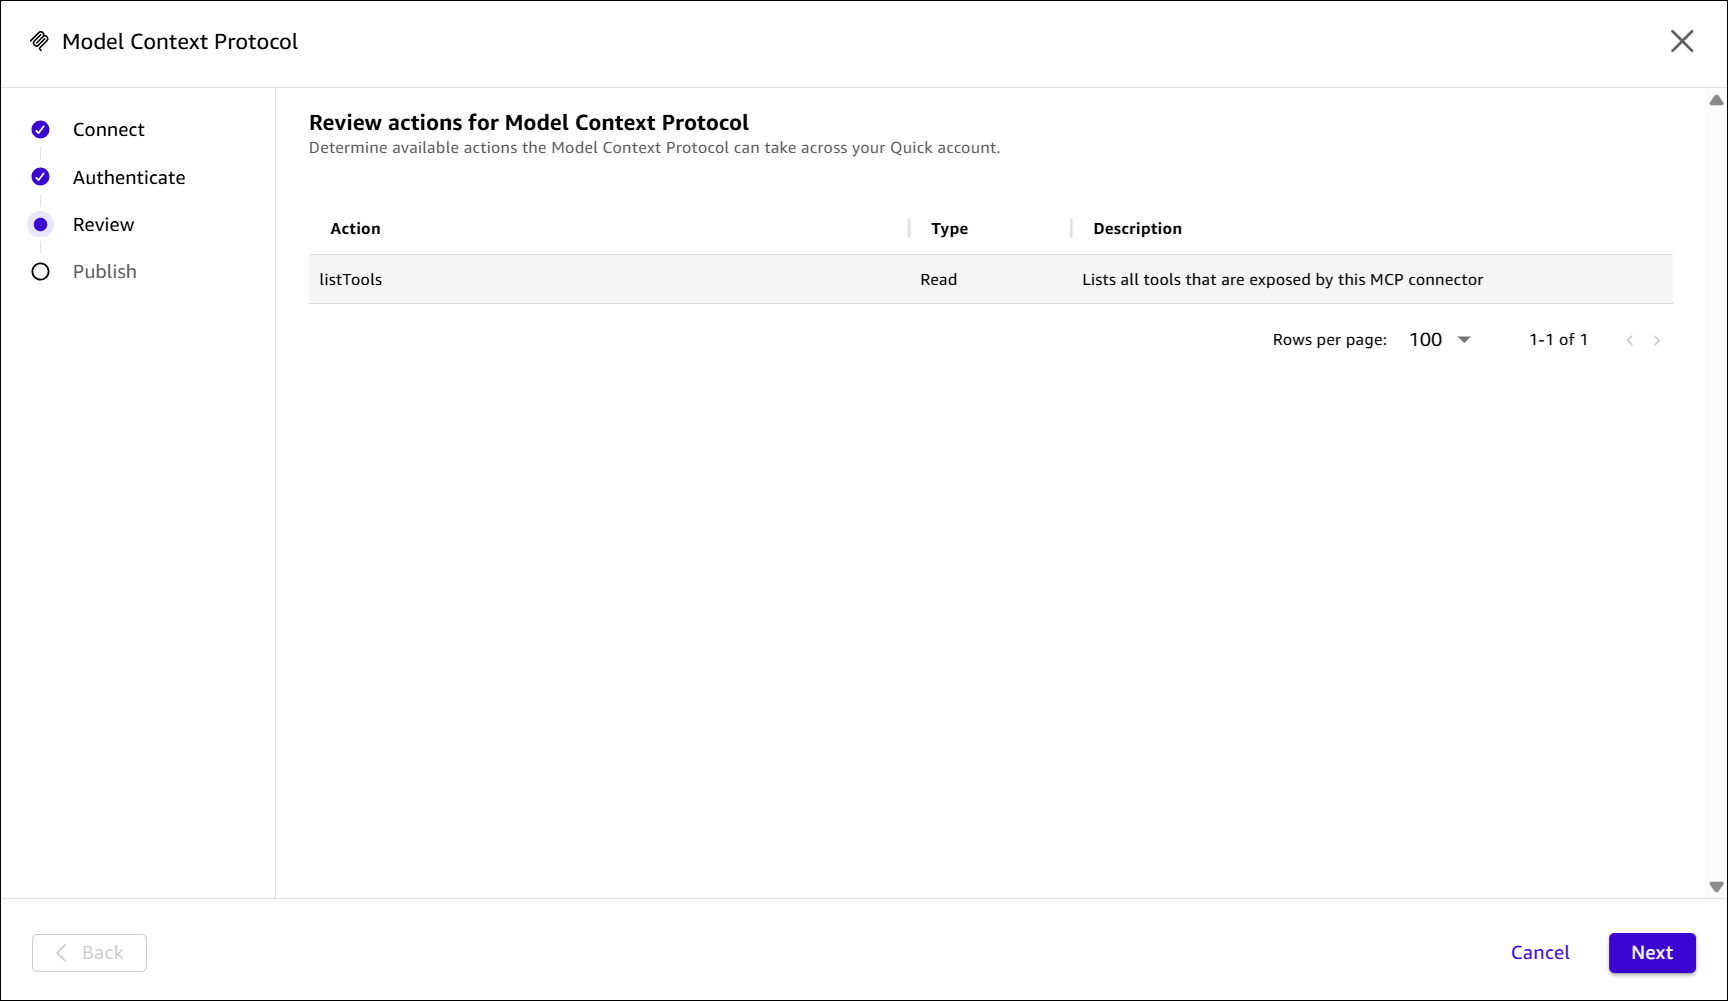
If Quick reports that discovery found no tools, the most common cause is that the OAuth client does not have the Use permission on the Agent Tools asset. Return to Step 2 above and verify that permission was granted.
- In Amazon Quick, navigate to Chat agents and click + (Create chat agent).
- Paste a system prompt that instructs the agent how to use the Celonis tools. Example:
   You are an assistant that answers questions using data from Celonis.
   When a question involves process data, call get_knowledge_model to discover
   the relevant entities, then load_data to retrieve specific columns and rows.
   Cite the tool and the entity you used for each fact in your answer.
Do not invent data that was not returned by a tool call.- Confirm that your Celonis MCP integration is selected in the Actions section.
- Click Launch chat agent.
- Test your agent by asking: "What tools can you access in Celonis?"
- Confirm the agent responds with the list of tools you enabled and references the Celonis MCP integration.
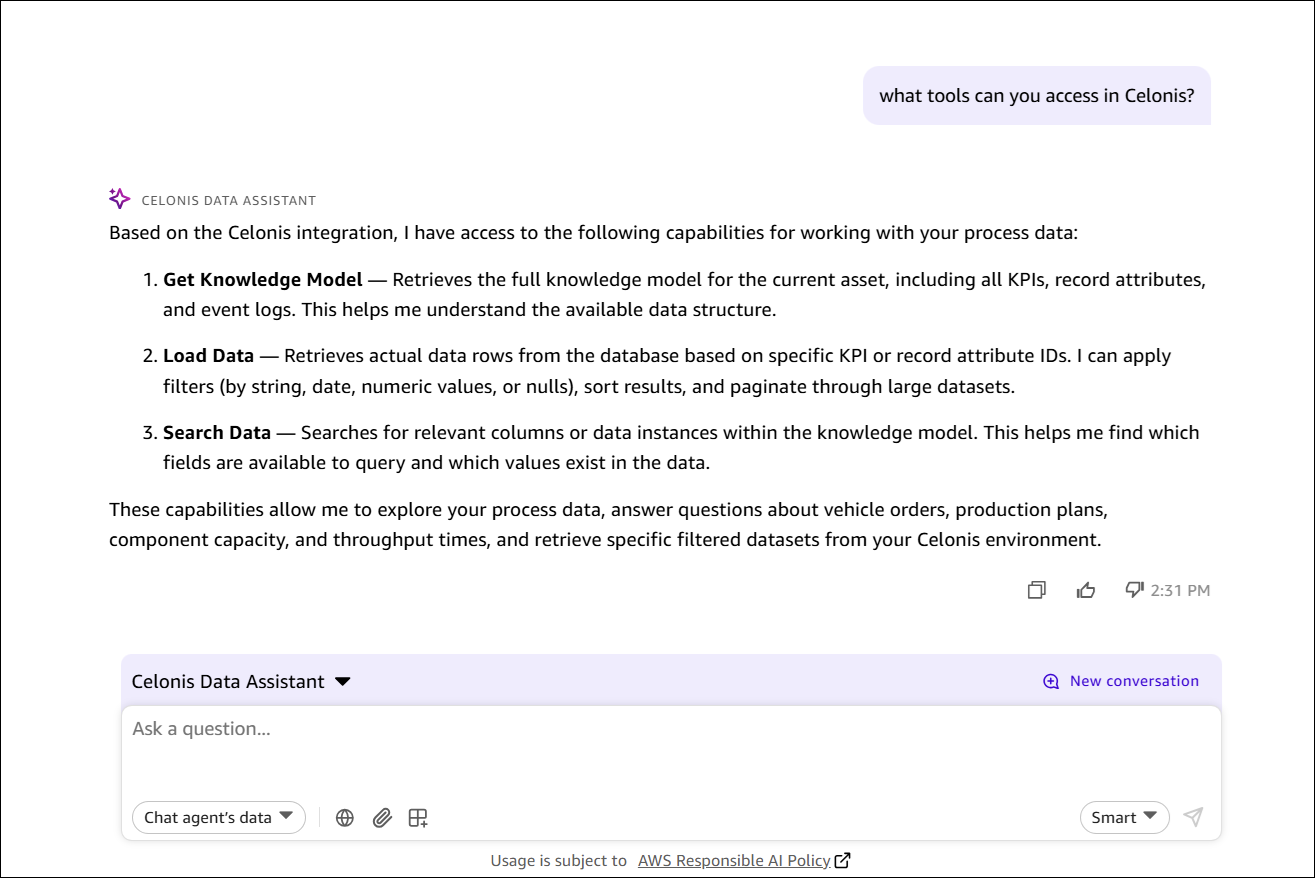
You have successfully connected your Celonis MCP Server to Amazon Quick. Quick users can now invoke Celonis process mining capabilities including data loading, knowledge model retrieval, and data search directly from their AI assistant without leaving the Quick interface.
For additional information on managing integrations in Quick, refer to the Amazon Quick documentation.
- Store your OAuth Client ID and Client Secret securely. Do not share them in plain text or commit them to version control.
- Use a dedicated OAuth Client for each integration to limit the blast radius of a credential compromise.
- Always deploy the Celonis MCP Server before attempting to connect from Quick. Connections to undeployed servers will fail.
- Use the Discovery URL method when available to simplify token endpoint configuration.
| Symptom | Likely cause | Resolution |
|---|---|---|
| Authentication error from Celonis | Invalid credentials or missing scope | Verify Client ID, Client Secret, and scope mcp-asset.tools:execute |
| Tool discovery returns no tools | Missing Use permission | Grant the OAuth client Use permission on the Agent Tools asset package |
| Token exchange fails | Incorrect Token URL | Verify the URL matches https://<team>.<realm>.celonis.cloud/oauth2/token |
| Tool calls return authorization error | OAuth client lacks asset permission | Grant Use permission via Package Settings → Permissions in Celonis |
| MCP Server URL not found | Asset not deployed | Open the asset in Studio and click Deploy |